Stopped at the Scrap Exchange in Durham yesterday looking for nothing in particular but certainly came home with some great finds for my craft room... DH recently had back surgery so I try to get him out of the house and walking around so I suggested we head to Durham to shop the Scrap Exchange as I know he likes to go there to see all they have....
This used to be one store and now they have this original store and also a thrift store they opened in the same plaza and that store has home goods, clothes, books, storage items, etc.. The original store is more of an art supply and a recycle store. They hold classes for kids to show them how to use recycled items to make new things or to decorate with them, etc.. This store has fabric, yarn, ribbons, card stocks, paper, post cards, greeting cards, some tools and supplies for building items, bins for storage, house parts (like electrical wiring/lamp parts), plumbing items, wood pieces, cardboard, envelopes, photos, nails/screws, craft paints, house paints, etc. . . so I got DH a cart at the door and he went in one direction and I in the other.....
Over to papercrafts for me.... found these Stampin Up stamp sets - BRAND NEW - for $1.00 each:
I was happy to find the Christmas background stamp -- and it is a larger stamp but I opened the case to look at the stamp and it is unmounted and the wood block for it is inside with the stamp. I will not mount it on the wood block so I plan to use the block for a craft project and the MISTI to stamp the stamp with. Here are photos of the other sets that are clear stamp sets:
and a photo of the sets:
I think only one set was marked $2 and the rest the one dollar sticker.... They also had a shelf that held punches so I looked through those but I did not get any of them . Below that shelf were stacked bins loaded with wooden stamps. I looked through a couple of bins but ended up buying just these 4 stamps:
These stamps were covered in inks - one of them had metallic ink on it and another had paint on it that someone had used as ink..... brought them home and gave them a much needed clean up and here they are now:

When I first began stamping years ago, a Stampin Up demonstrator told me she cleans all her stamps using 1/2 Simple Green to 1/2 water in a spray bottle and she spritzes this onto the stamp and lets it sit for a few seconds and then the inks come right off -- ever since I learned to use that that is what I clean all my stamps with - cling and clear - and not only does it clean the stamps but does not cause damage to the stamps or anything. I will say the Easter Greetings stamp was the worst but I used a soft toothbrush I clean used stamps with and that worked getting inks off the smaller letters of this stamp. The birthday stamp is from 1993 from Annette Watkins and that stamp was $1.00. The other stamps were either a quarter or 50 cents each... so these stamps will get some use, esp now that they are cleaned up, for projects ahead in this craft room.....
Headed over to the office section and found this heavy duty letter/paper holder that I will use for my white card stock that I use all the time:
I did not want the plastic paper holders for desk tops that also store paper but was happy to find this wire holder and it is a sturdy frame so it should work well for the card stock.... I think this was $2 or $3.... then I walked over to the art supply aisle and there were a couple of bins marked "Stencils". Many of the stencils were for home decor projects but I kept looking and near the bottom of the second bin were two new to me stencils that I now own --
I like that this star stencil has different sized stars and they are in a design on the stencil and not just rows of stars... and then BOO Day..... saw this smaller stencil and knew it would be coming home with me for upcoming BOO Day projects:

The star stencil was clean and I do not know if it was ever used but the BOO Day stencil had purple and green inks on it, as well as the black over the spider web part of the stencil. Again used the Simple Green/water in the spray bottle and cleaned off the inks on the stencil. There is some black still on the spider web part of the stencil - even tho I did use a little rubbing alcohol over it - but it should not effect the stenciled image. Fun stencil to use on tags and such for Halloween.... and then . . .
Could not locate DH and the cart so I thought I would head back to the part of the store we entered in to look for him there and as I was headed that way a white bin in the hallway caught my eye.... Clearly marked Altenew inks and refills..... WHAT?? So I am holding and balancing all my finds in one hand and I pulled the bin out so I could look inside..... and here they are ---
I did not take a photo of each colour family but I did leave there with all I could find after paying 75 cents per bag or a total of $12.00 for these.... I brought them home, opened the bags, and here is all I picked up of the Altenew ink cubes and refills --- and the purple family still has sealed refills:
I cleaned everything up and sorted them -- the ink cubes that have the refills I put the refill on top of the ink cube and the ink cubes I have no refills for are in the front of the bin. A couple of the ink cubes in the front are duplicates of popular colours so a couple of the refills have two ink cubes. I know that Altenew sells the refills for approx $5.00 each and their ink cubes are sold in sets of 4 for approx $14.00 per set. I did find only two of the sealed ink cubes still packaged - and there was only two of these packages and in the same colour family so one set is for me and one set is for my PIC (stamping Partner In Crime):


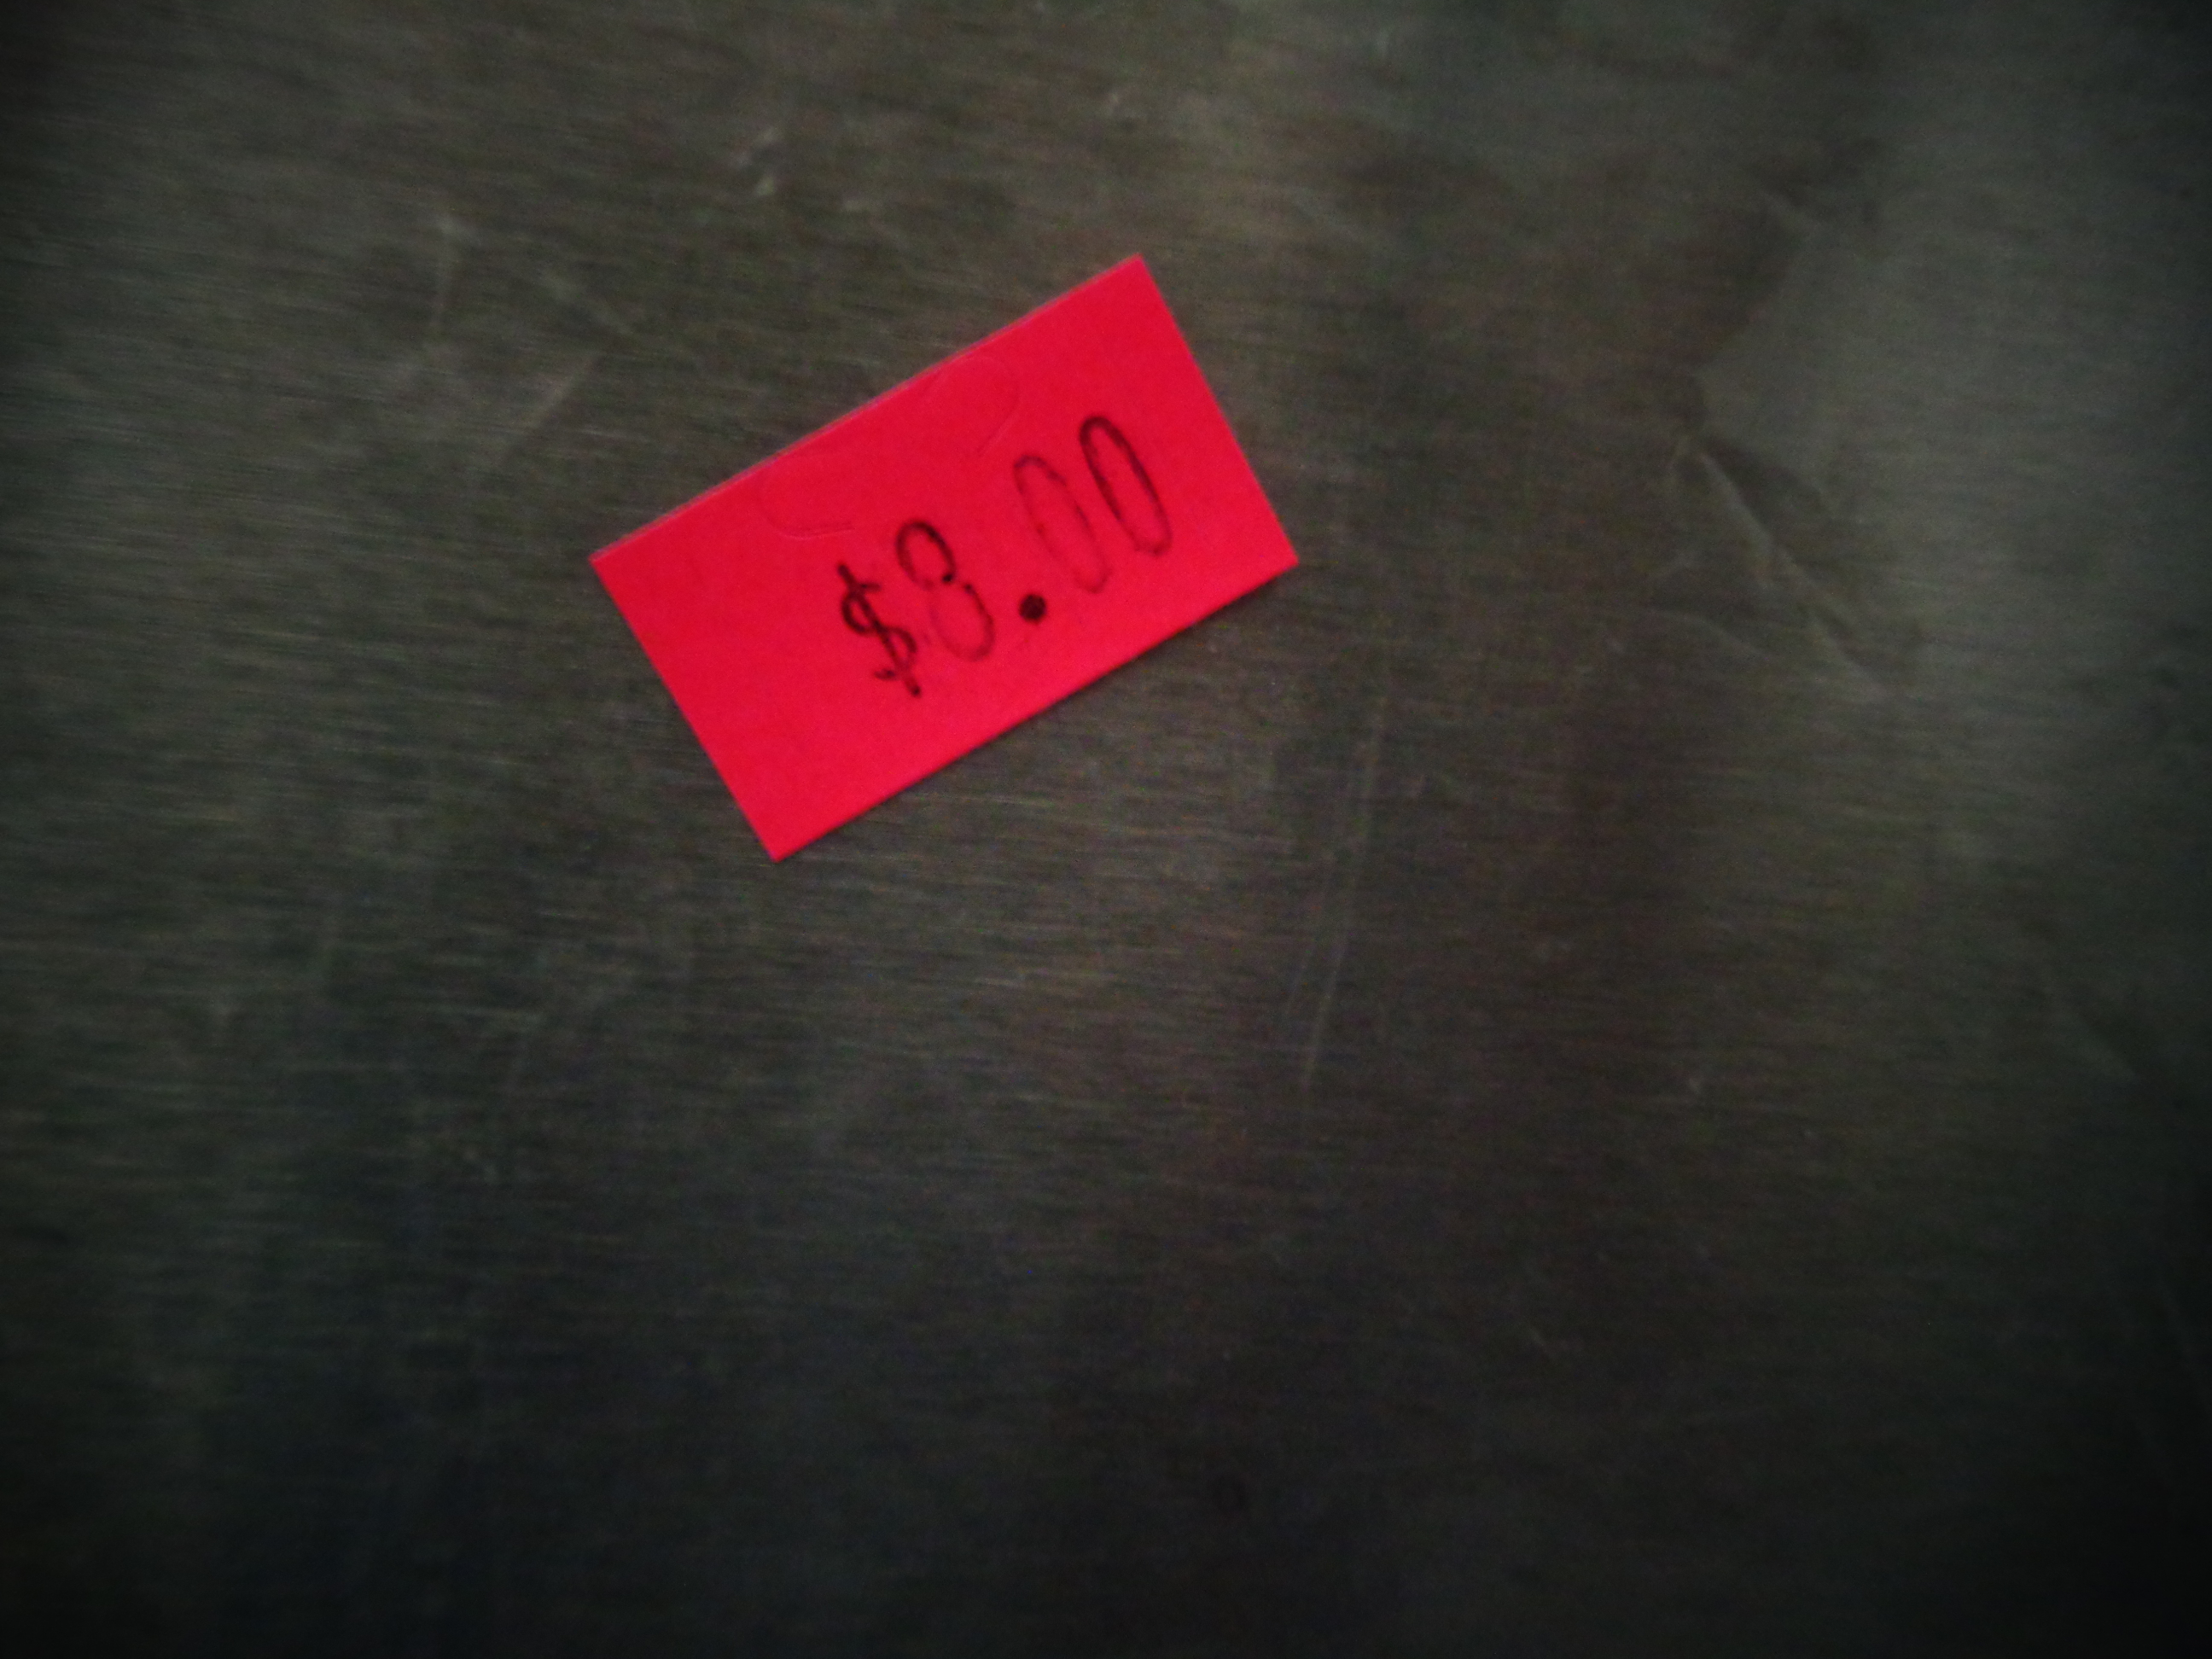
Again, being a good stamper shopper, I balanced me and my new to me loot and headed to find DH and esp the cart .... when behind me I hear him calling my name..... turn around and he is signaling me to come over to where he was standing.... so I get to the cart and load in all my finds and he is pointing at some silver thing in plastic and says "do you want this for your craft room?" I look at it and ask what is this????

Not easy to see but this is an $8.00 price tag on a stainless steel table top - DH said he will build me the table I have asked for for my machines in the craft room if I want it... He pulls on the plastic covering over it so we can look at it and it is in mint condition with no dents or waves on it... he said all I have to do is draw out what I want the table to look like and he will build it.... once he is better from surgery.... so I am certainly happy about this and for $8.00??? we brought it home.... so another fun stop at the Scrap Exchange to shop for nothing in mind but coming home with lots of new to me items for the craft room..... DH did find three things he was also glad to find so he was happy we made the drive....
Just wanted to show a photo of the "easter Greetings" stamp from A Muse that I bought. When I picked it up I was not sure with the lettering being so small on the stamp, and also covered with different inks, if I would be able to clean off all the inks and get down to the words on the stamp. Even if I was able to clean it really well, how well would the image look once stamped? Well here is a sample of how it turned out:
Stamped it onto scrap white card stock using a pink ink pad on the craft table and happy me it stamps well! So this will be used on some of my now-in-progress Easter projects I am working on.....