Showing posts with label Summer. Show all posts

Sunday, June 21, 2026

Double Vision Sunflower Card

Have wanted to make a card using the Double Vision technique on a card front and when I shopped the Scrapbook Expo in Fredericksburg, VA this weekend I picked up a 6x6 paper pad "Summer Sunshine" from the "Crafty Stamp Co" booth. I really like this card stock and it is easy to work with. I have seen different ways to make the Double Vision look on a card front but I will explain how I made this card:

To start with I looked through my stash of cut and scored coloured card stock bases and pulled out a golden yellow card base. For the front of my card I did not want a border to show around the sunflower front so I needed to make my panel for the card front. I cut a piece of white card stock 4" wide x 5 1/4". This would be the base I would use to build the card front on. I pulled out a sunflower print from the 6x6 pad and I cut that down to a height of 5 1/4". Then I took this to the trimmer and I turned the paper over. On the backside of this sunflower print is a plaid. I cut this paper every 1/2" and as I cut the strips I used a black Sharpie and numbered each strip as I cut them into 1/2" pieces - when done I had them in numerical order:

As you can see in this photo I numbered all the strips at the bottom - for two reasons. First having them numbered my print will be in order and line up. Secondly having them numbered at the bottom of the strips reminds me when I glue them onto the white card stock base that all numbers will be at the bottom so again that helps with the floral pattern. Here is how I made my card front. First I laid my strips onto the white card stock base:

I used liquid glue to put every other strip onto the white card stock. This one is glued on and the second strip is just laid onto the white card stock base next to the first glued one:

Third strip I glued on and fourth I did not and I continued this all the way across the white card stock base:


Every other strip that was not glued down I put foam dots behind those and the high and low of this technique on the card front gives you that look and dimension:


Laid this technique card front onto the card base and decided which way I wanted it to be on the card front and then using liquid glue I put this onto the yellow card stock base.  Again I used the sentiment hot foil plate with matching die set from Pinkfresh for my sentiment.  With this card front already being dimensional I did not want to use foam tape behind the sentiment so I used liquid glue to put this onto the card front:


Added three clear gold gems from the stash to the card front for some sparkle and shine. Laying down all the strips onto your white card front as you glue and assemble this card front keeps all your strips spaced correctly and it is easy to keep it all in order by numbering the back of the strips as you cut them. I also found it easier to cut the length I would need my strips to be and then to cut them into the 1/2" strips rather than to have the strips longer than the white card stock I was using as a base for them. Fun card to make and all you need is a trimmer - no dies needed! Really like this card stock from this new to me company -- craftystampco and happy I was able to shop their booth at the show!


Sunflower Card

For this card I used the "Shatter Background Die" I picked up at the Scrapbook Expo show in Fredericksburg, VA from the TallMouse booth for $10.00:

The card stock I used for this card is from the "Summer Sunshine" pack of 6x6 card stock that I bought at the "craftystampco" booth:

This card stock is double sided so lots of options for prints on a card front. Here is my card and as you can see I made my card front upside down from the way their die is as I wanted my larger print of sunflowers to be the focal print on the card front:

I went through my stash of coloured card stock bases that are already cut and scored at the top and I found this green card stock base that would go with my sunflower prints. First I cut out a piece of white card stock using the base piece in the TallMouse die set for my card front. I cut out all four of my printed card stocks using the layering pieces in the die set. Used liquid glue to put all the prints onto the white card stock base. Used liquid glue to put the card front on the green card stock base. Set this aside. 

Looked through my hot foil sentiments and pulled out the Pinkfresh "Celebrating You" hot foil plate with matching die. Hot foiled this plate using matte gold foil on a white card stock. Die cut that out using the matching die. I die cut out a second layer of white card stock and put this blank white card stock piece behind my sentiment to make it more sturdy on the card front. I put the "thinking of you" sentiment on the card front using pop dots. Added three clear gold gems to the card front.

Easy card to put together and using a pack of 6x6 themed card stock made putting prints together for the card front simple. I had never heard of "craftystampco.com" before but happy I shopped her booth at the show as this printed card stock is very nice. Will be ordering from her online I am sure.....


Sunday, May 31, 2026

Seas the Day Card

Last fall I shopped the Customer Yard Sale at Enchanted Cottage in Lewisville, NC and for this card I used two of the items I bought for a dollar each. Here is the card:

Fun card to put together for summertime. For this card I used blue card stock cut and scored at the top. I used a light speckled gray card stock in the stash for the card front panel. I used liquid glue to put the gray card stock piece on the blue base. I used two new-to-me die sets for this card. The first one is from Spellbinders and the red "1" on the front was the price I paid:

The packaging says this was part of the Crate of the Month offering that Spellbinders holds and this was from June 2025. Cute and very easy sailboat to assemble and another good use of scraps.... the second die was also one dollar and it is from Stamps of Life:

Very good deal for one dollar since this is a two piece die set - words and shadow dies included. I cut the shadow out of white card stock and the words out of the matching blue card stock to match the base of the card. Used liquid glue to put those together. I wanted to use a nautical embossing folder for the front of the card but I was not sure what I had in the stash. Looked through my embossing folders and found this folder by Lifestyle Crafts which was bought out by We R Memory Keepers and they are We R Makers now:

I put a piece of black card stock in the folder to show this pattern. I wanted my embossed piece to be white but I did not want it to be a rectangle shape so I used an oval die and cut out an oval. Then I put the oval inside the embossing folder and embossed that. Using two different oval dies I cut out a blue card stock frame to go over my embossed oval piece. I put the frame on the embossed piece using liquid glue.

For the boat I used different card stocks for that and put that together using liquid glue and I also cut out one more boat base piece to put the boat on to give it some dimension for the front of the card. I used foam tape behind my framed oval piece and put that on the card front. Added pop dots behind the "Seas the Day" sentiment for dimension. Here is a side view of this card to show the dimension the foam tape and pop dots give it:

This photo shows the embossing behind the boat:


Easy card to assemble and happy to use more of the stash for the card with the two one dollar additions to the craft room.....


With the completed card I looked through my clear gem stash and found the star gems so I used two red ones with two small red gems for the card front. Always happy to find used items at great prices to add to the stash......

Sunday, June 29, 2025

Summer Cards . . .

This is a card I made for summer this year:

For the card base I used kraft card stock. Used the LDRS "Quilted Plaid" cover plate die for the white card front. Used a rectangle frame die from the stash and cut out the green gingham frame for the card front. For the half watermelon I used scrap card stocks and cut out a watermelon from an older Taylored Expressions watermelon die set. I die cut the "happy summer" summer border die from Lawn Fawn using silver poster board from the Dollar Tree for the "happy summer". I trimmed that to size for the card front. I added red and green gems from the stash. To add a little sparkle and shine to the card front I used clear Wink of Stella over the black seeds on the watermelon:

Fun to dig through the stash and use products on hand..... or so I thought..... off to the 4th of July cards....

Plan in place for the 4th of July cards and I wanted to use the WaffleFlower Postage Collage die and stencil set they have for the 4th of July. Simple plan.... or so I thought.... 

First night after work I die cut all the postage collage card fronts using the postage collage die. Using red and navy blue inks from Catherine Pooler I stenciled the card front. Set those aside. I then cut out the mat pieces for the front of the cards as well as the card bases. 

Second night the plan was to stencil all the stars and the background stars from the stencil..... First problem???  The red and navy inks bled when I would add anything over them - white ink, stencil paste, etc.... grrrrrrrrrrrrrrrrrrrrrrrrrrrrrr

Third night - let's begin again -- had to cut all new stencil collage die pieces for the card fronts and I used a red ink from another company and a blue ink from another company..... tried to keep my stencil paste to a minimum on these cards not knowing what would happen..... so on these cards I used a yellow ink for the little stars as accents rather than try a stencil paste or anything else. So happy I had in my stash a jar of the TCW Stencil Butter paste and here is a photo of one of the final cards that I made:

The TCW stencil butter paste was used for the stars on the flag, the hat, as well as the banner. This paste was easy to use and it did not alter the colour or texture over the second inks I used for my cards that other pastes I had in my stash did.... this process has been over 2 weeks so I am glad I was finally able to get card fronts I could use for the July 4th cards. Really like the postage collage stencil sets that are available - you can use it as a one piece card front or cut them apart to arrange on other card fronts or tags, etc.. Just happy I was able to find products that work well together so I could get these cards in the mail BEFORE the holiday.....

Saturday, June 8, 2024

A Day at the Beach Summer Cards

Recently Spellbinders held their Warehouse Sale and happy me I picked up lots of die sets that totaled over $132.00 for just $50.00. One of the sets I had seen other crafters use was the A Day at the Beach die set which was offered for their Small Die of the Month club in July 2022 and now on sale so I bought it.  I wanted to use this die set to make summer cards for this year:

Used paper scraps for the beach blanket, hat, bag, and swimsuit. Wanted to have a beach scene but did not want straight lines across the front of the card for the sand and water line so I used a piece of copy paper and tore a piece off of it and that used that edge for adding ink to the white card front. Here is a photo of the torn copy paper over a green envelope to show the line this torn edge made:

With the torn edge on the white card stock front I used blue ink and blended that over the edge to give me the dark blue on the card front. Removed the copy paper and then I blended more blue on the blue side of the card front with a gentle hand to blend the blue out to the white of the card front. Then I used a beige ink and at the bottom added more ink for the sandy area and when I got closer to the blue line I left white showing. Here is a photo of a finished ink blended front to show this before I added all the pieces for the card front:

First I cut all the white card fronts and then did all the ink blending. With that done I decided to go through my wood mounted stamps and find stamps to use on this card. The greeting in the lower right corner "celebrate summer" is a stamp from Stampendous from 2007.  The birds in the upper left corner is a stamp from DeNami Designs (remember them?) that I had picked up at a stamp show years ago and I thought it would work to have smaller birds over the water for this card front. With the stamping done on the card fronts I cut and scored the light blue card bases. Added liquid glue to put the card fronts onto the card bases. 

Once all the card fronts were on the card bases I began to add the pieces from the A Day at the Beach die set that I had already die cut out. Here is a photo of one of the cards I made:

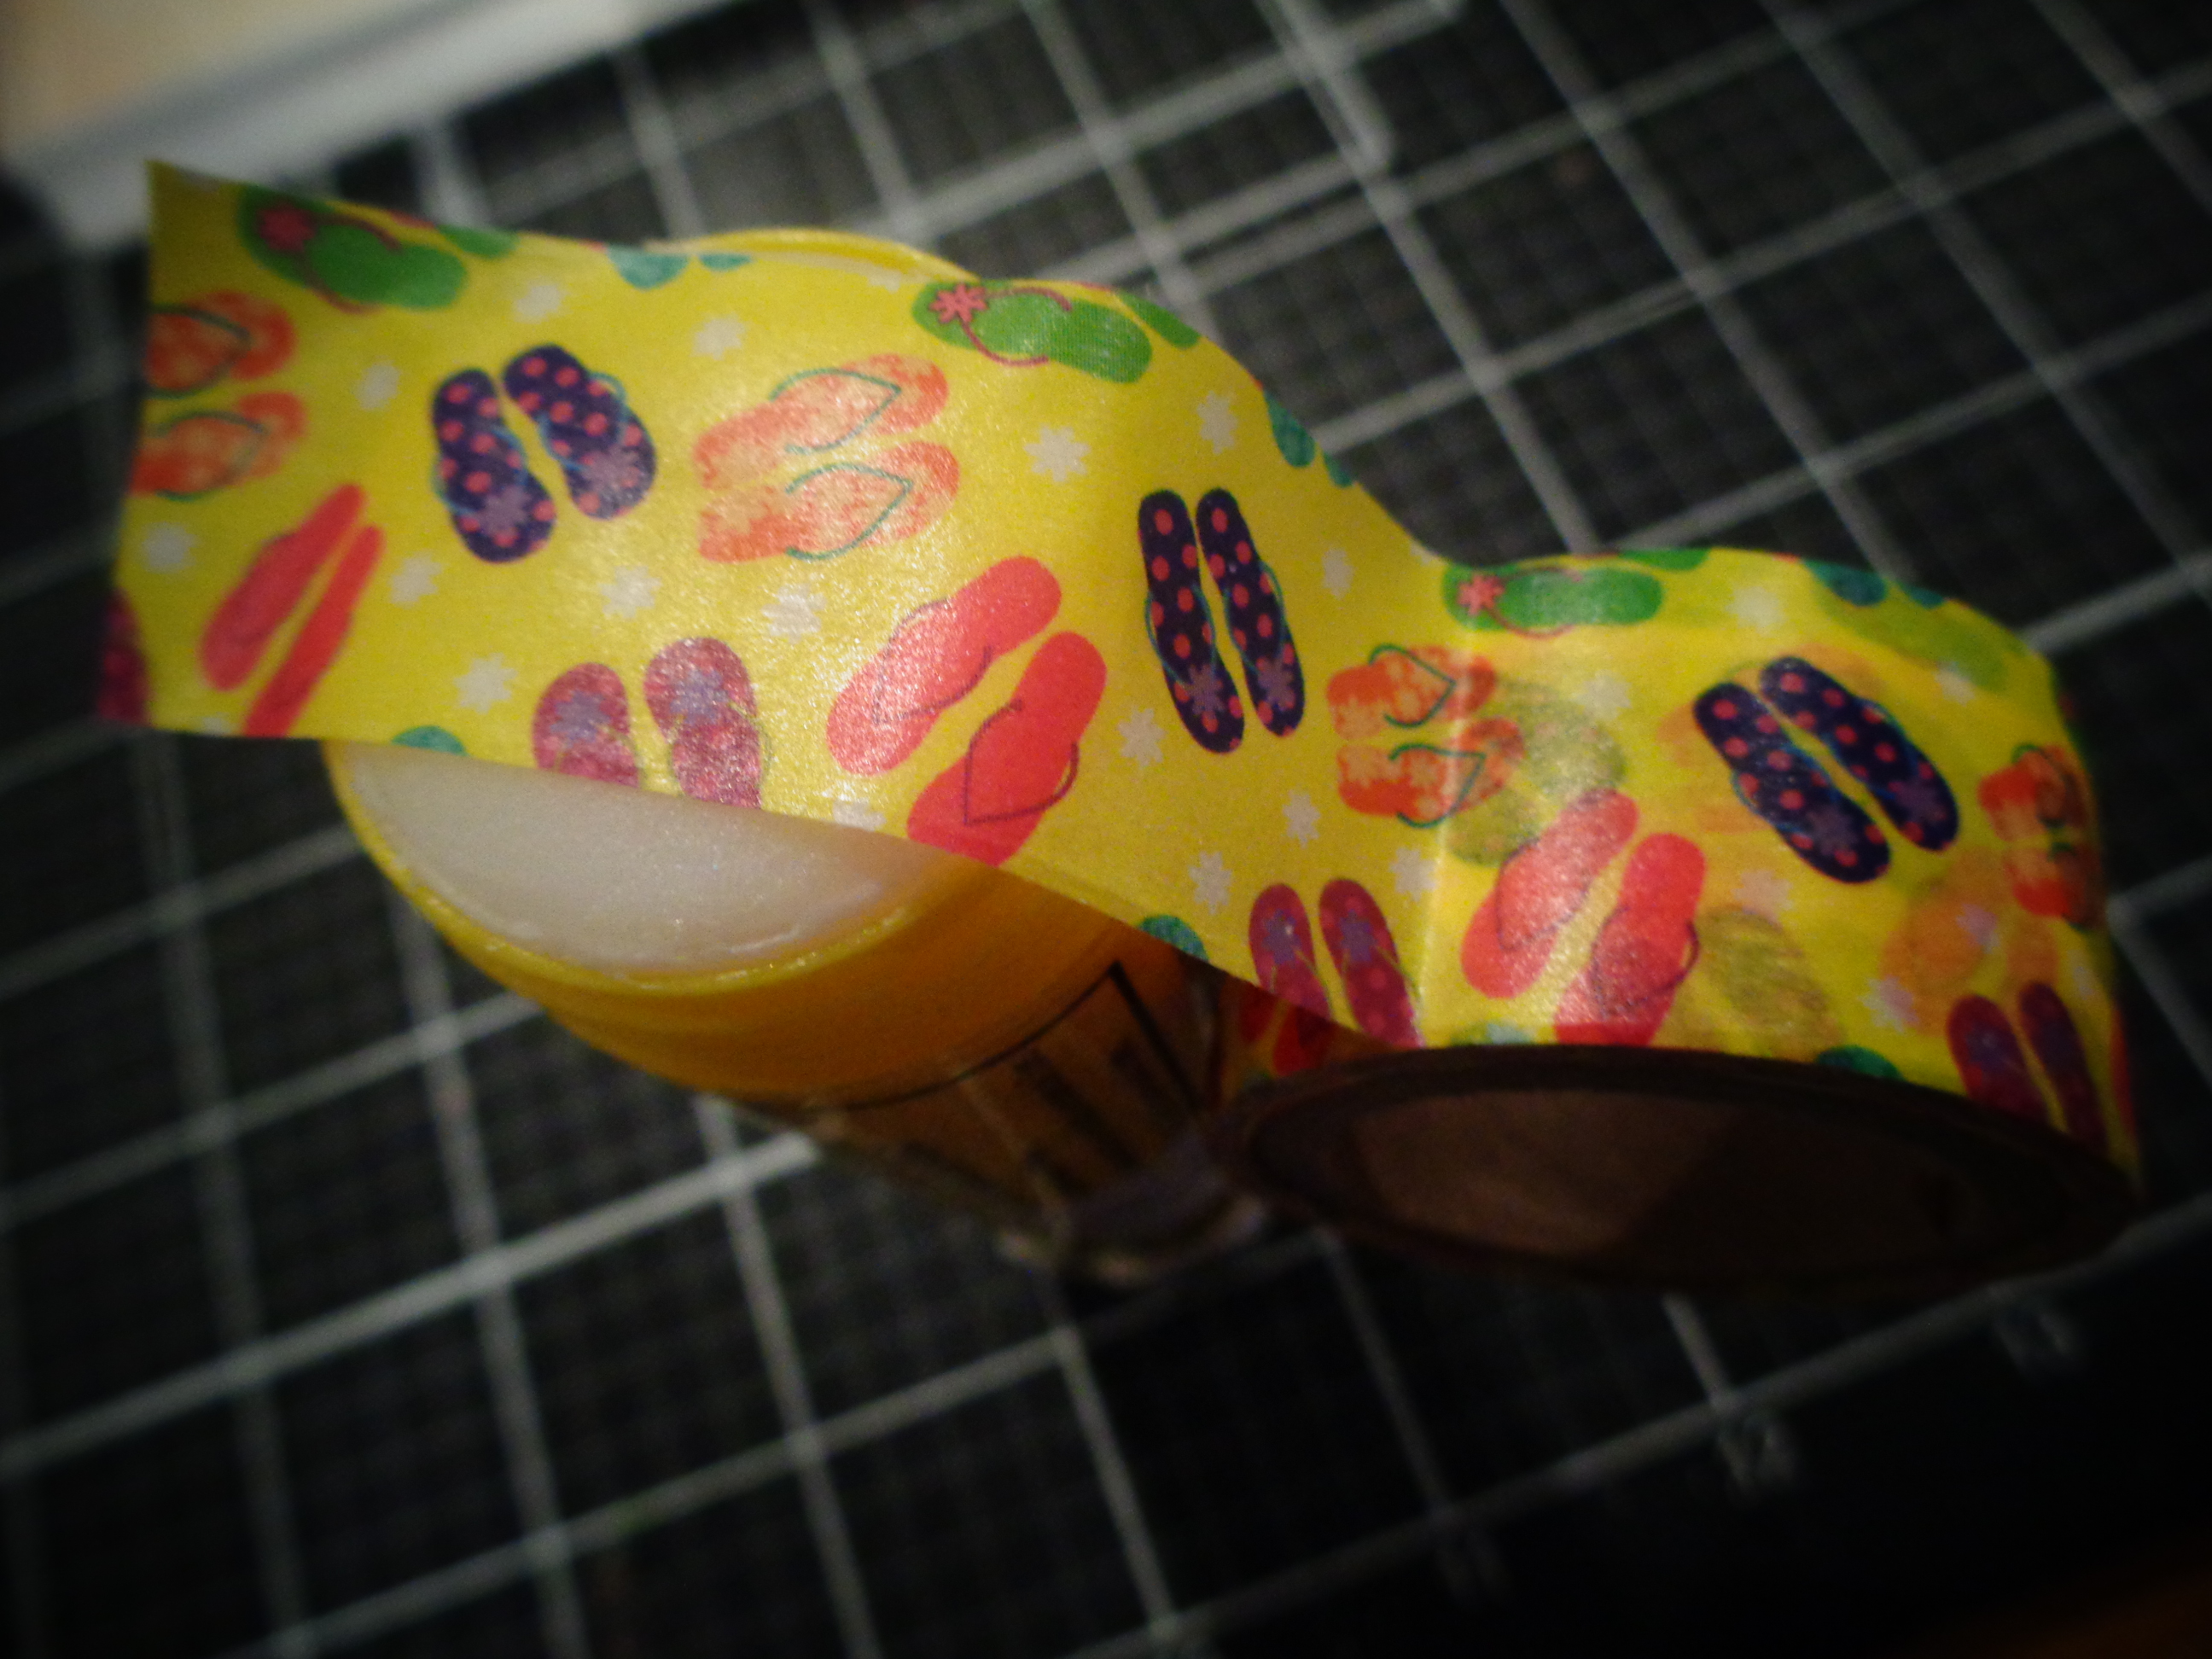
The inside of the card I used a summer greeting stamp "Relax... " from Great Impressions and I have some flip flop washi tape I put inside the card as well - some washi tapes have more adhesive than others but I want to be sure my washi tape does not come off the card stock so I cut it a little longer than I needed and ran it over a glue stick to add more adhesive:

Here is a photo of the three wood mounted stamps from my stash that I was able to get more use out of:

I also used a small bow punch to add a bow to the beach bag front and the back of the swim suit. For the sun I used a circle punch and sponged the edges of that with yellow ink and then an orange ink. Used a small flower punch for the flower on the hat and added gems from the stash to the hat flower as well as the bow on the bathing suit and beach bag. Fun cards to make and good use of stamps in my stash as well as scrap card stocks.