

Another card using the distressed inks with a stencil and mask. I had taken a class with Daphne much earlier in the year using distressed inks and now that I have all the information and tips Daphne shared with us I wanted to make more cards using what I learned. This card is also inspired by Daphne and I want to send a BIG thank you to Cheryl for the stencil and mask I used for this card.
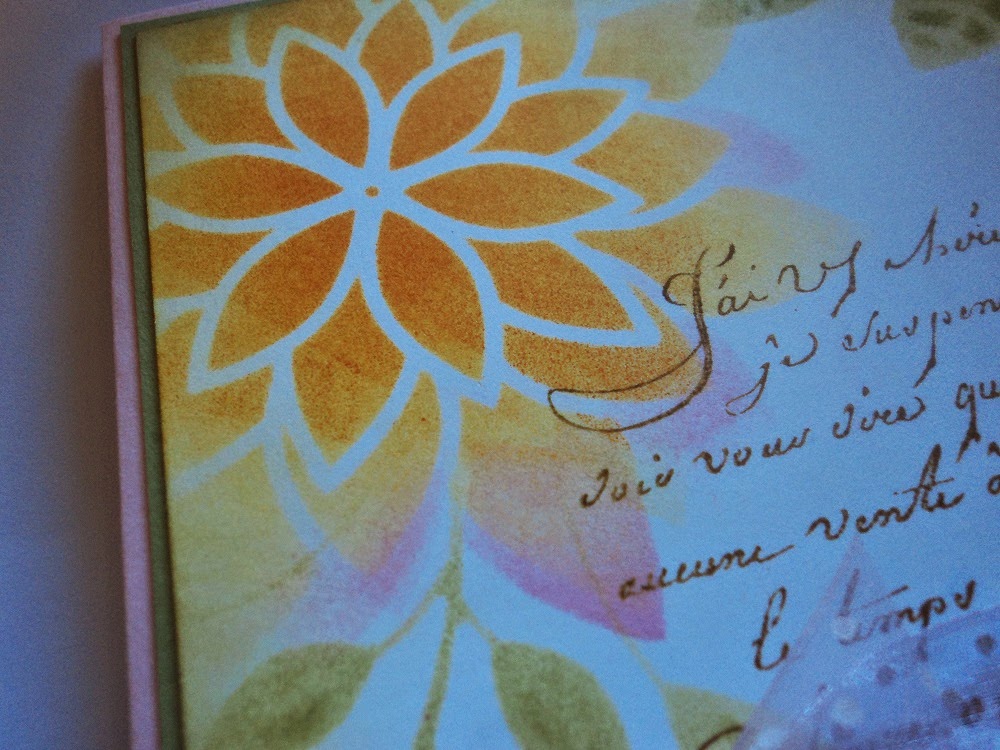
Card stock base is pink, with a piece of green for the card front. Cut and scored the card base and front green piece and set those aside. I used 110 lb weight white card stock from Mikes for the white piece. I cut it to the size I would need for my card front. Then I used the Brilliant Peony Stencil from Memory Box for the flower and the mask is their Garden Bloom Stencil. Here is a list of the distressed inks I used for the flowers:
Squeezed Lemon
Spiced Marmalade
Spun Sugar
For the script stamp:
Brushed Corduroy
For the stems/leaves:
Shabby Shutters
Peeled Paint
For the flowers I used the Squeezed Lemon and over that I added Spiced Marmalade and the pink on the outside is Spun Sugar. With distressed inks -- two tips --- have baby wipes ready for use and also -- remember you can add colour but not take it away. Light touch is the key to this ---- and with this stencil I "pounced" the applicator rather than the normal circular motion you would use if not using a stencil. By pouncing the applicator you will not tear your stencil:
Once I had the flowers done I then added the stems/leaves. Using a script stamp from Hero Arts I inked that with distressed ink Brushed Corduroy. Stamped it off onto scrap card stock and then stamped it onto the stenciled piece. Sponged the edges of this piece using the Shabby Shutters ink. Added a pink ribbon and tied that into a knot. For the greeting I used a stamp from SU Teeny Tiny Wishes --- the stamp reads "hello baby" but I only inked the "hello" of the stamp and stamped it onto scrap white card stock. Using the Spellbinders Simply Charmed die set I cut the greeting tag out. Sponged the edges of that with the Shabby Shutters ink. Put this under the ribbon using a glue dot:

Easy card to put together once you decide your ink colours -- always remember to start with the lighter colours and then go to the darker colours as you work. There is no right or wrong using the distressed inks and stencils -- quite easy to do and it makes a big impact on your card front. TFL and YOLO
No comments:
Post a Comment