Saturday, July 27, 2024

Not going down that Rabbit Hole . . . .

BetterPress.......  Another product for card making/scrapbooking..... You need a special machine, special ink pads, yada yada.. so not going down that rabbit hole. . . but... maybe?

I have the Spellbinders Glimmer Hot Foil machine and I love the way the foiled pieces look on a card, tag, or project but when I foil? I have to make the foil face... My platform sits tightly on the machine and I have to use two hands to remove it from the platform while making the foil face... but having to pull so hard can make the platform jerk or jiggle and then you get over foiling because the plate, the foil, and the card stock did not stay in place. Some crafters suggest taping the card stock to the top of the foil plate - like a hinge - and then put the foil in between the plate and card stock and that will prevent over foiling.. .. .. but not for me.....  Other crafters suggest taping the two plates you put on top of your card stock to run it through your die cutting machine will also prevent over foiling.. .. .. but not for me...

On YouTube I watched a video by Carissa Wiley where she was hot foiling her card and that was the last time I have had any foiling issues since my platform sits tightly in the machine. She shows how she foils and what she does is heat up the attached platform in the machine with the hot foil plate on it. Once the green light comes on to let you know the platform is ready she then removes the platform from the machine. She pulls it out and then puts her foil on the plate and then the card stock on top. She puts her two plates on top that come with the machine and runs this sandwich through her die cutting machine... Beautiful foiling and so simple!! So that is what I have done for a long time and her method works well for me and although I still have to make the foil face, my foiling is clear and pretty as it should be. So happy me....

A Creative Muse, YouTube, is Suzanne Hue and she does a lot of work with Spellbinders and she has even designed dies for them. She has many videos about card making, hot foiling, and also the new BetterPress. One of her recent videos she was saying that Spellbinders was having a 40% off sale and she was going over all the categories - dies, embossing folders, BetterPress plates, etc.. She mentioned that BetterPress plates can be used in the Glimmer Hot Foil machine but that you can not use your hot foil plates in the BetterPress. News to me so I checked on YouTube for other crafters that had used their BetterPress plates to hot foil and everyone seemed to have great results doing this. 

I have ordered from Spellbinders many times and whenever I go to their site I check the "New Arrivals" page to see what is out there so in the past I have seen some of the BetterPress plates.... with the 40% off sale going on I placed an order for some BetterPress plates I thought I could use for hot foiling. First is the BetterPress Spider Web Background plate. I wanted to try this out on black card stock using the silver holographic foil - both of which are in my stash. Here is a photo of that spider web plate:

Since this is a background plate and will cover the card front it is a larger plate. Due to the size I put the plate on my heated up platform and pressed the timer button on the machine. Once that turned off when the platform was ready I left the plate on there for another 30 seconds and then loosened the platform from the machine, laid the foil on the plate, and put the black card stock on top of that. Put the two plates on the top and ran this through my Big Shot. First try:

Looked like it worked but I peeled off the foil and here it is:

PERFECTION! No over foiling and the black card stock took the foiling well. I like this spider web plate because the spider web has such fine lines. IRL you can see the holographic foil on the webs. But that is a design.... how does it do with letters/words?

Next two plates are Christmas sentiment plates and both sets had the plates and cutting dies together and being on sale that is quite the deal - I bought the Merry & Bright Sentiment Strips set and the Mistletoe Greetings set. I have foiled green, red, silver, holographic silver, and gold for my strips:


and on black:


I really like the sentiments on projects on black card stock with white lettering - be it embossed with white ink or using a white ink to stamp it .... but if you use the white ink why wait forever for it to dry just so you can use it??? Seeing as these BetterPress sentiment plates had thin lettering I thought I would try hot foiling with one of these plates on black card stock using the silver holographic foil:

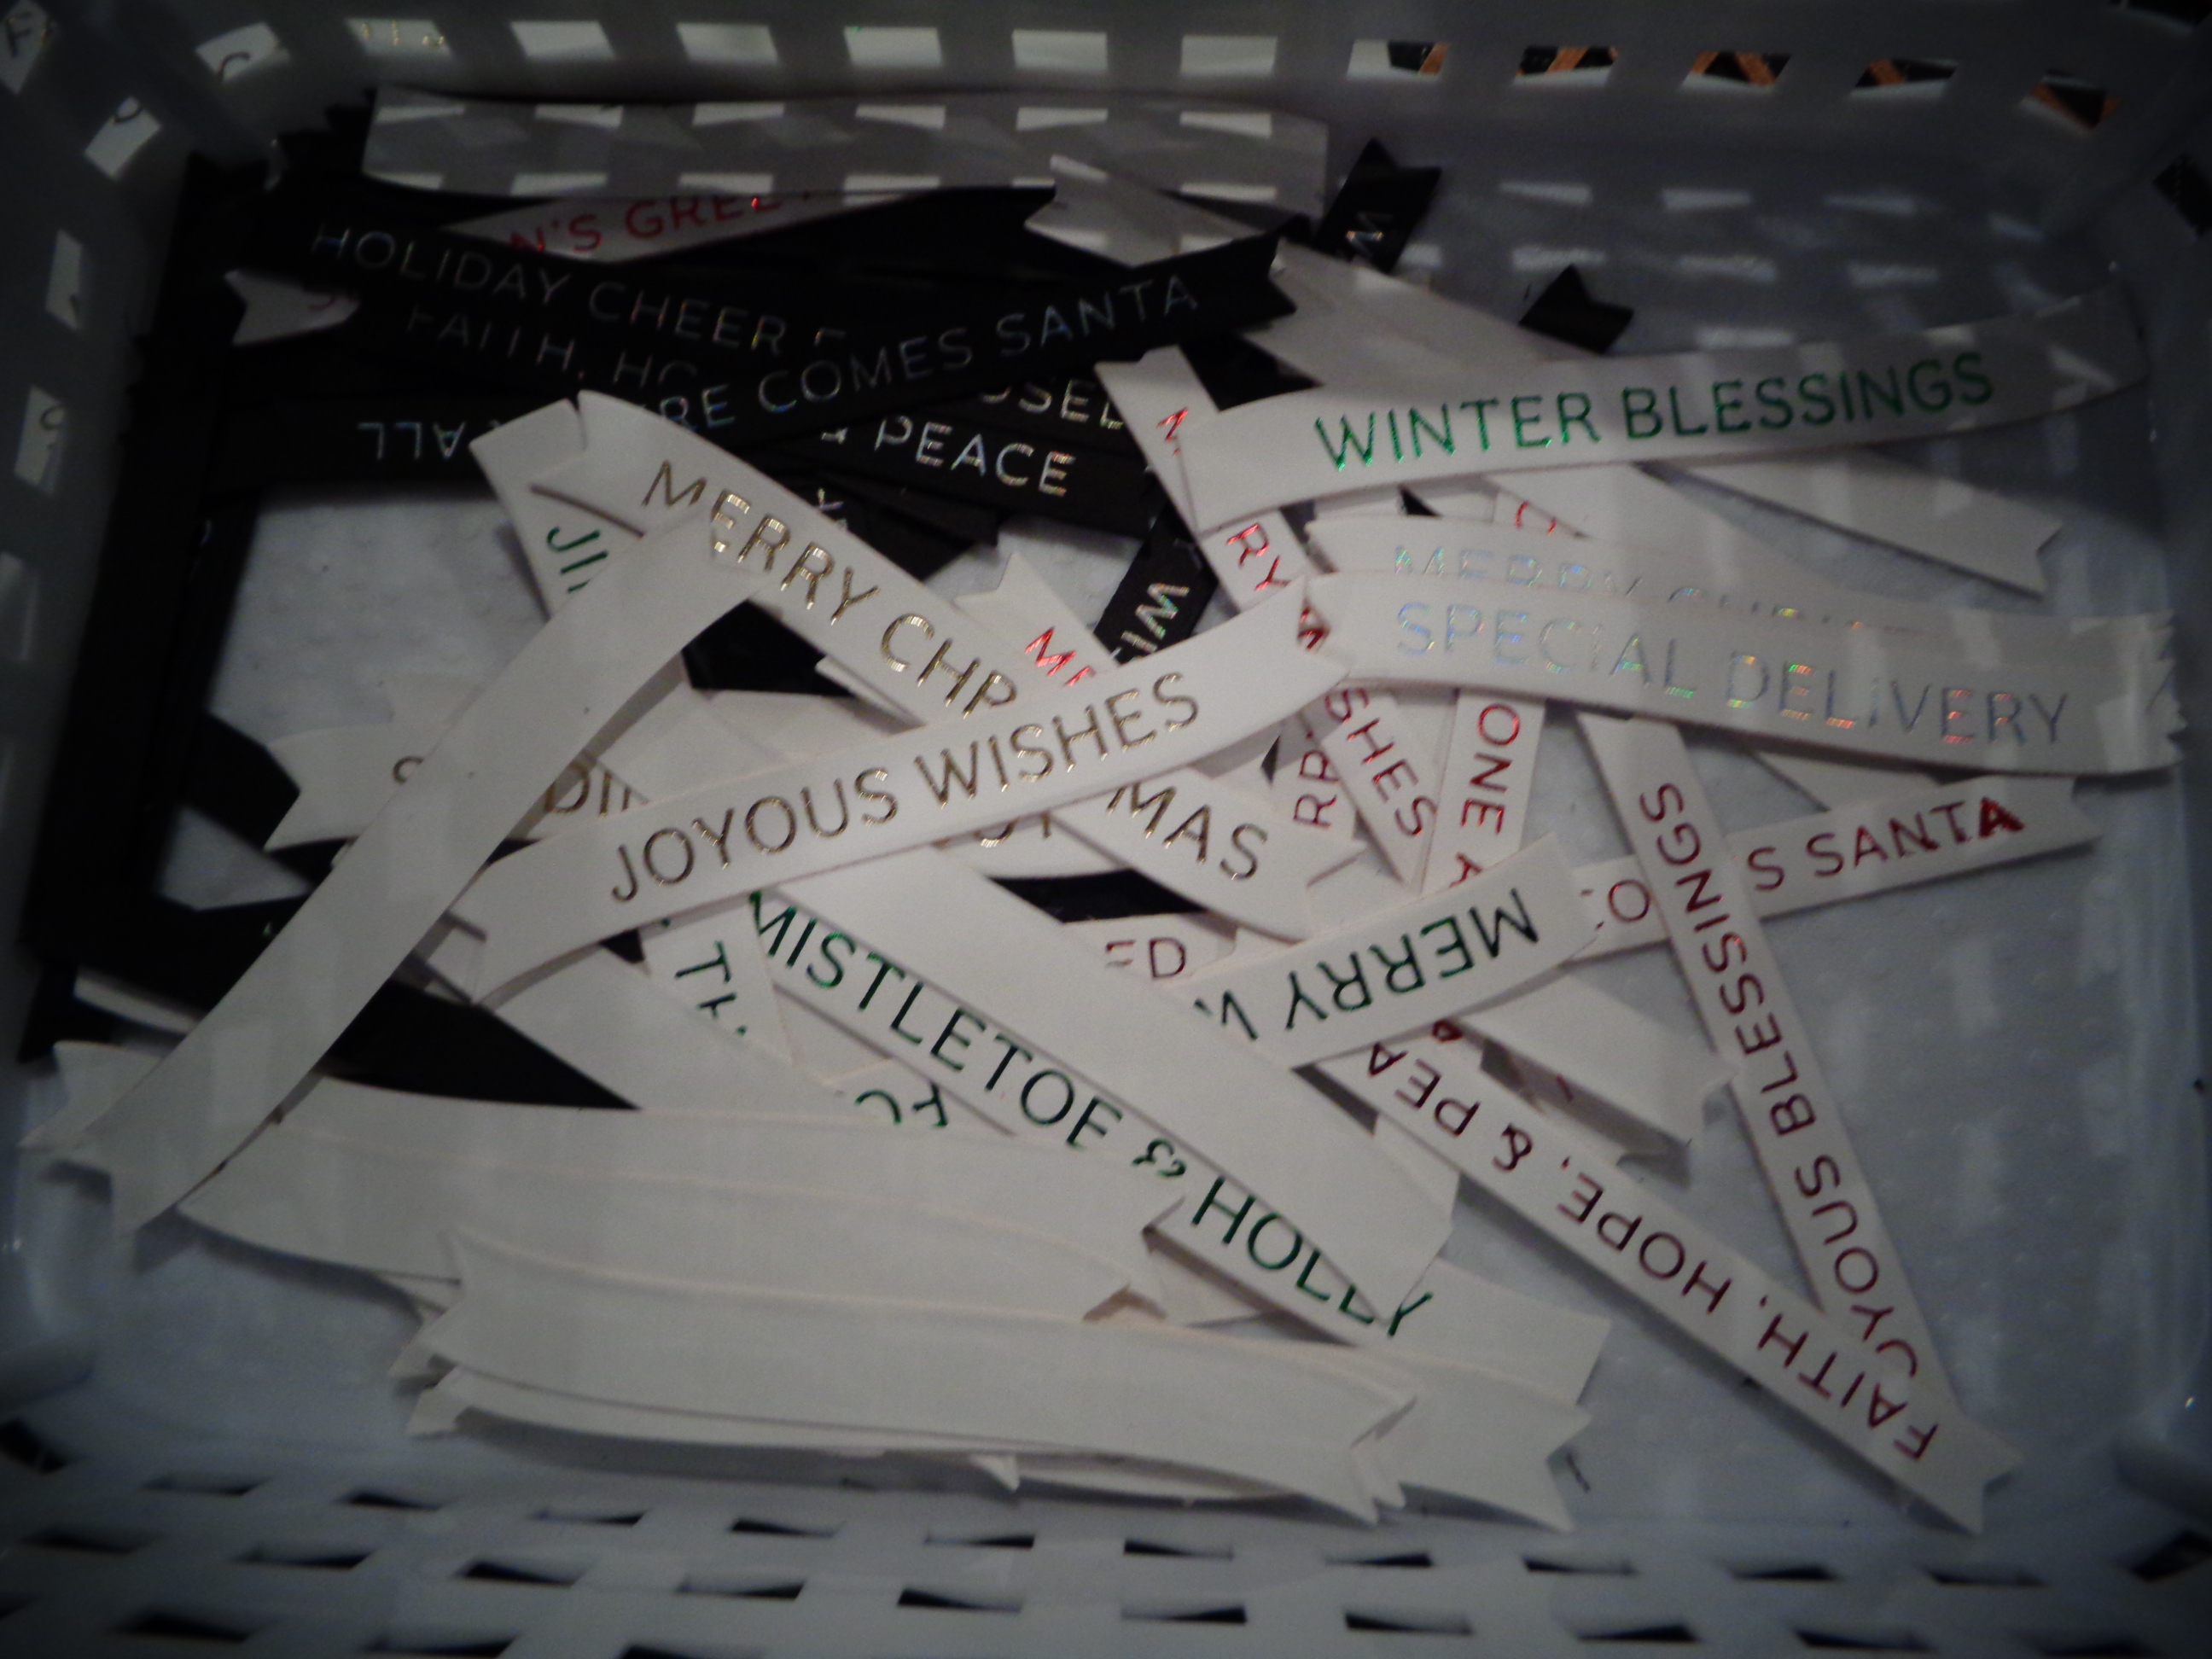
So I tried that and the above photo shows how that looks - with the thin letters you hardly notice the holographic on the foil and it almost looks white on black so that is a good thing. I cut out a couple of the foiled sentiments:


Will finish the rest but for now I have a great start for holiday cards, tags, gift boxes and such for Christmas and happy the BetterPress plates work so well in the hot foil machine! So happy that I was able to see Carissa Wiley with her method of hot foiling and removing the platform before she adds her foil and card stock - works like a charm... altho I still make the foil face while pulling the platform loose.... but whatever works!


Monday, July 22, 2024

Halloween Cat Bow Embellishments

Bought the new Halloween Cat Bow die set from KS Crafts. This die set is available in the small and the large sizes. I bought the small die set and here is a photo of the cat embellishments I made:

I used black #110 weight card stock for the cat and I cut out two for each embellishment so the cat will be sturdy. I used liquid glue to put the two cats together. Using scraps I cut out the pink ears, pink nose, green eyes, and for the whisker piece I used black mirrored card stock and also a shimmer black card stock. Again used liquid glue to put them in place Here is a photo of two of the embellishments:

First I die cut all the cat pieces and assembled those:

Here is a photo of the 10 piece die set:

For all the bows I used printed card stocks from the stash - but here is a photo of two cats to show the difference of attaching the bows to the cat bases:

For the cat on the left I assembled the bow - the tail piece and then the two loop pieces stacked on top with a crystal gem in the center. Doing it this way the bow is OVER the cat tail. The cat on the right I put the bow tail piece behind the cat and then put the two bow loops with center crystal on the front of the cat - this way you can easily see the looped cats' tail so you have a choice which way to assemble the bow. Once the bow tail piece is attached to the back of the cat you will not see it as this will be attached to a project. 

For placement of the ear pieces and eyes, when you die cut the cat out this die also embosses the face impression onto the card stock for placement.  The whiskers are all on one die piece so that makes it easy to adhere them to the face. Also - this is the small cat die set and  completed it measures 2 3/4" from top to bottom and from side to side - from tail edge to bow tail edge on other side is also approx 2 3/4".  A sizeable embellishment and it would also make a nice tag on a treat bag. 


Lunch Bag BOO Day Treat Holder

Used paper lunch bags to make these BOO Day treat holders using the new Trick or Treat Bag Topper die set from KSCrafts from their July release. Wanted to use die sets and card stocks from the stash so the only new item I used was the bag topper die. 

For each bag front and back I used two coordinating card stocks that would go with the card stocks I used for the bag toppers. I die cut the front and back of the bag toppers using two different card stocks as well to add interest to them - here is a photo of everything cut and ready to be assembled but first I would have to trim the bag topper printed card stock panels:

With everything die cut and card stocks trimmed to size I was ready to assemble (rosette bases in photo is for another BOO Day project). Here is a photo of the finished decorated bag treat holders:


The one draw back with this bag topper die set is there is no die in the set for the printed card stock panel pieces on the bag topper. If you use the die as it is and cut out a printed card stock panel this is the look the die will give you for your printed panels:

Definitely not the look I wanted for the bag topper so I used scrap cream card stock and cut out the flap of the bag topper and once that was die cut I took the scissors and trimmed around the stitching line at the top of the die piece to mimic the stitching line that goes all the way around the die:

You only need to trim this pattern piece from one side of the handle to the other side of the handle so it is not a lot of fussy cutting. Here is a bag topper I had used my patter piece on:

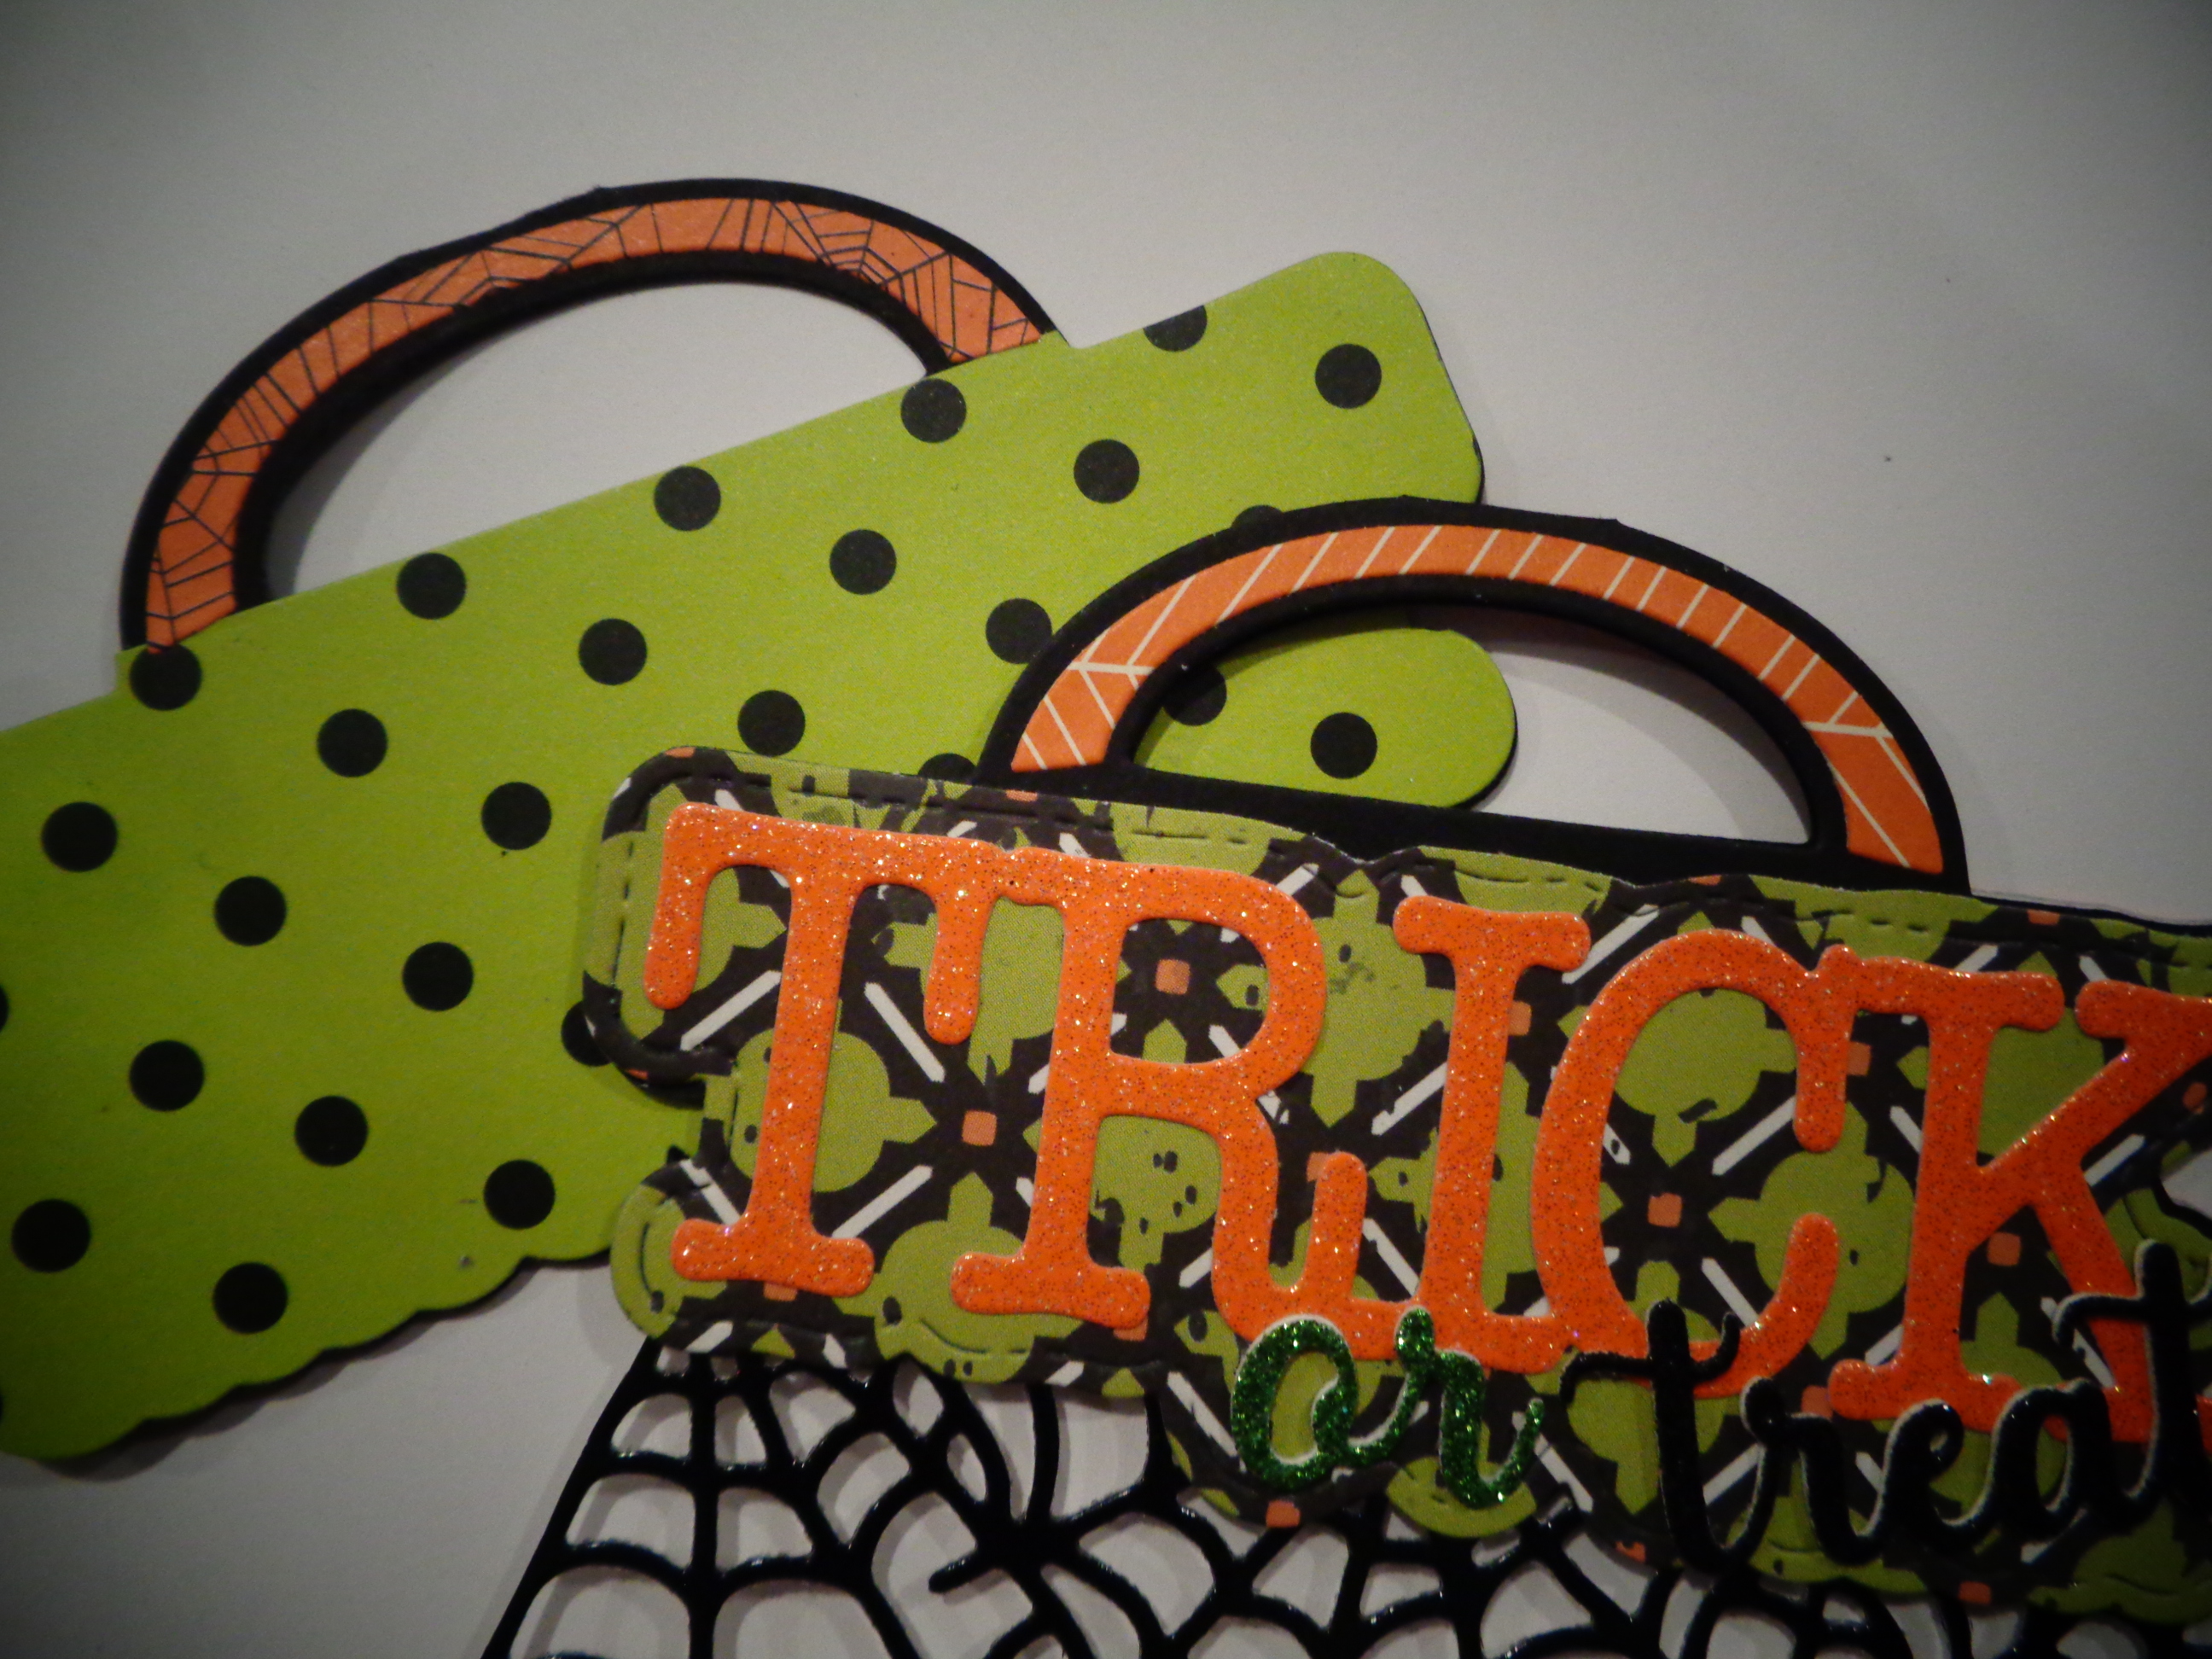
The bag topper with "TRICK" on it shows the top now using the pattern piece compared to the sample on the left using the die set as it is. Once all my bag topper fronts and backs were cut out I used liquid glue to add the printed card stock to the bag topper piece. To dress this up I used this die set from the stash and cut out spider webs from mirror black card stock and I also cut out a spider and put that on the front of the bag:

Here is a photo to show the bag fronts-I used a scallop border die from the stash and cut out black glittered card stock for that to put at the bottom of the bag:

Right now the bags are all put together and when I put the candy treats in the bags the week of Halloween then I will attach the front of the bag topper to the bag front using tear and tape and I will use velcro dots on the back of the bag topper so the bags can easily be opened. To attach the printed card stock to the front and back of the bags I used tear and tape and the "around the block" method to put these on the bags so they would be straight - put tear and tape on the back edges of the panels and lift up 1/4 of the tape at one end for each side.  Fold this to the front of the panel and when done you will have four 'pull tabs' to remove the backing on your tape:

Lay the panel on the bag, print side up, and put one tab at a time until all are pulled off:

And after all tabs are pulled off:

With not using liquid glue you do not have to wait for it to dry or deal with any bubbles or glue on your edges. Quick and easy way to add the printed panels to the bag fronts and backs. For the words on the bag topper "TRICK" "or" "treat" I used glittered card stocks from the stash and cut those out. Easy project to put together for BOO Day treats!


Sunday, July 21, 2024

Mushroom Card #2

Recently The Greetery sent out an email that they were having a sale to help fund the recovery of their small town from a flood due to weather. With every purchase they would give money to this fund to help their town with the recovery. I order their die set BontaniCuts Toadstool Garden die set and here is the card I made:

My card stock base is Kraft, cut and scored at the top. Used cream card stock and die cut the cover plate Cross Stitched from PaperTreyInk for the card front. Used liquid glue and added that to the kraft card stock base. 

Die cut all the mushroom pieces in the die set from cream card stock. Ink blended these pieces to add the colour. Used the greenery and single mushroom die pieces from the PaperTreyInk Into the Blooms:Mushroom Die set to add to my mushroom focal piece. The base of this focal piece is a rectangle cream card stock that I cut out using rectangle dies from the stash. I used that same rectangle die set to cut out the blue frame for the card front. Used liquid glue to add the blue frame to the cream base. Used a grass die from the stash and scrap green card stock to cut out the grass piece.  Used liquid glue to add the greenery, grass and mushrooms to the framed piece. Here is a closer photo of this piece:

Added blue crystals from the stash to add sparkle to the card front. The greeting "Blessings" is from a Trinity Stamps stamp set and I stamped that with rust ink and used a banner die set from Pink and Main to cut that out. Used foam tape to raise the rectangle focal piece up on the card front. 

The nice thing about the PaperTreyInk Cross Stitched cover plate die is you can see the coloured card stock base through the lines that this die cuts in the card stock. Also this mushroom die set from The Greetery die cuts all the circles for detail on your mushroom tops so this is an easy card to assemble. Another fun mushroom card to put together. 

Mushroom Card #1


*** This card was chosen as a Favorites of the Week on Splitcoast Stampers for this week. Happy they liked it! ***

Mushrooms are popular in crafting and home decor now. . . so I picked up the PaperTreyInk Into the Blooms: Mushrooms die set and made a card:

For my card I used a card stock base of Kraft card stock cut and scored at the top. Used a swirl design cover plate die from the stash for my cream card front piece. Used liquid glue to put this onto the Kraft card stock base. For the center piece I used two circle dies and cut out a circle frame from rust card stock. Cut out the HoneyBeeStamps Burlap die from cream card stock. Used a circle die and cut that into a circle. Used liquid glue to put the rust circle frame onto the burlap circle die piece. Set these aside to dry. 

Die cut all the mushroom pieces with the greenery pieces from the die set using the cream card stock. Used blending brushes to add colour to all the die cut pieces. Used scrap green card stock and a grass die from the stash for the grass piece.

With all ink blending done and the circle pieces dry I 'built' the focal point for the card front onto the circle pieces. Once everything was added again I used liquid glue to add this to the card front. Here is a closer photo of the card front circle pieces:


This die set has the small dies that cut out the little card stock circles to add to the mushroom tops. Those are easy to add for detailing using liquid glue. The greeting is from a stamp set from Trinity Stamps and I used rust ink for that. Added crystals from the stash for some sparkle for the card front. 


Gnome Tree Cards

Spellbinders had their Warehouse Sale so happy me I picked up their "Gnome Tree" die set. This is a cute die set with lots of detail and it can be used as it shows on their packaging and you can also cut apart the gnomes and use them on their own. Here is a photo of the die set packaging:

For my first card I used all scraps for my gnomes and I wanted to use many different colours. Here is the first card I made:

I wanted to make this a shaped card so I cut out a white card stock base, scored on the side, and I put the background die piece onto the white card stock base with the die piece just off the edge of the scored line and so this card opens with the scored line on the side:

First for this card with all the small pieces of the gnomes with their hats, robes, sleeves I wanted to be sure I had things in the right place on the card front. This die set has an outline die piece and then the detailed gnome piece that cuts out all you need for the gnomes. I cut a piece of white card stock larger than the detailed gnome die piece and I used tape to put this die onto the white card stock base. I used the foam mat in the Big Shot to cut out and emboss the die piece so my white card stock would have an impression of the gnomes piece:

Having the pattern on the white card stock base it made it easy to put all my die cut pieces in place using liquid glue. First put the hats on, then the beard-do not glue to the edges-and then the robe pieces and the arms. This makes assembly easier. 

For my gnomes, once all pieces were cut out, I sponged the edges of the hats and then stamped the hats with small background stamps to add patterns to their hats. Last I added the noses and then the shiny black shoes. Used gold poster board from the Dollar Tree for the string of lights and used glittered card stocks for the ornaments. The greeting "Be Merry" is from the My Favorite Things/MFT Stamps die set "Snow Globe Sentiments" and red ink. Cut this out using the banner die set from Pink and Main. 

My next card I wanted to use the traditional Christmas red and greens:

Again used red and green card stock scraps for the gnomes. Added gold glitter card stock for the stars. The greeting "Merriest Wishes" again is from the MFT Stamp set:

Once again I made this into a shaped card but for this card I scored it at the top:

On this card I stamped small background stamps only on the red gnome hats and just sponged the edges of the green hats. This gnome die set looks complicated but working with the embossed white card stock base made piece placement very easy. Here are both cards:

Also these gnomes can be cut apart and used for other projects. Fun holiday cards! Plus it was on sale so that is always a good thing. . .

Candy Cane Card

A new die set just released from Spellbinders "Candy Canes and Holly" was used for this card:

For my card I used a red card stock base scored at the top:

The candy cane in this die set comes with the candy cane stick die and then another die cuts out the smaller pieces you cut out of red and put onto the white candy cane stick. Very easy to assemble. Last year I had bought the candy cane die set from Honey Bee Designs and that was not easy to assemble so happy this was a very easy die set to put together. 

For my small poinsettia I used the Poinsettia die from Scrapdiva Designs and scrap red card stock. I cut out the flower and layered it together and then added a gold pen to the edges of the flower and then went over that (once dried) with a gold glitter pen. Here is a close up of the flower:

I used the holly leaves from the Candy Canes and Holly die set and doubled those up and then sponged the edges with green ink. I used gold twine and put that behind the flower using a glue dot:

For the white lattice background behind my candy canes I used the Lattice Background cover plate die from Ellen Hutson and cut a piece of white card stock to go behind that for the card front. Used liquid glue to add the lattice piece to the white card stock front piece. 

For the candy canes - first I die cut the two candy canes and put all the die cut red pieces onto the candy canes but when I crossed them on each other they would be too high for my card front:

So I cut out two more candy canes, decided where on the cane I would cross these, and then added the red pieces, leaving off the red pieces where I was going to cross the canes for stacking:


Leaving off those red pieces on each cane where they cross lets this be flatter on the card front so the poinsettia flower I added lays flatter on the card front. These candy canes went together easily and the candy canes are a nice size for the card front. 

I ordered this new die set with another new die set from Spellbinders on their website:

Two fun die sets for holiday projects ahead. The candy canes will also look nice on gift tags for Christmas gifts. 


BOO Halloween Card

Once again designer Nicole Sphor is working with Spellbinders for new Fall releases. I ordered this die set she had designed and wanted to make it into a Halloween card. Here is a photo of her new design "Faux Embroidered Pumpkin":

Here is my card:

I used a light lavender card stock for the card base, scored at the top. For the background I looked through my background dies in the stash and decided to use the Impression Obsession/IO Stamps Spiderweb die. I cut this out of mirrored black card stock:

With the smaller die pieces in this set I used scrap card stocks and cut out the flowers and leaves for the base of the pumpkin. For each pumpkin I die cut two pumpkins and put them together using liquid glue for make them more sturdy. Once dried I sponged the edges to give them some shading. The greeting "BOO" is from the Spellbinders Boo-licious die set. That was a Large Die of the Month Club they offered for Sept. 2023. I bought it when it was on sale.

She designed the witch hat so when you cut it out it makes a slit on the rim of the hat so it easily slides over the left side of the pumpkin which helps keep it in place. I used glue dots to add the flowers to the base of the pumpkin and liquid glue was used to put the spiderweb background piece on the card stock base. Very easy die set to put together and the pumpkins are a nice size so they can easily be used for other Fall projects besides Halloween.