
Had a time where I did not want to really work on anything in particular until I stopped at the Dollar Tree. Picked up some spider web tulle - black gift bags - gemstone spider rings. Decided these would make up the Halloween treat bags I would make for this year. Just finished the five bags I need and here is a photo of those and then photos of products I used:

To start with the Dollar Tree sells these smaller black gift bags for 3 for $1.00. The tulle and rings are also $1.00 per package. Also their "diamond wrap trim" is used at the bottom of a couple of the bags. The glittered purple tulle and the plain orange tulle is also from their store:

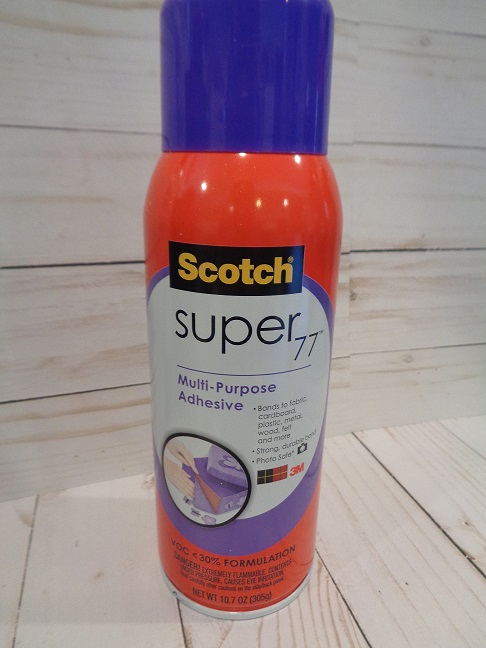
Decided I would use scissors and cut around the spider webs leaving them on one piece of tulle which makes them easier to handle. Used a button shank removal tool and took the ring part off the gemstone spider rings so they would lay flat. I added the flat gemstone spiders to the bag front using hot glue. I picked up the silver spider web tulle, the gold one, and also an orange one for my gift bags fronts. With my bags flat I cut my web pieces out being sure they did not hang over the edge of the bag front. Using Scotch 77 adhesive spray (got it at Mikes with a 50% coupon) I sprayed the back of my web piece and put it on the bag front. I did this outside as is advised on the back of the spray can. I sprayed all the web pieces and put them on the bags while the bags were flat. Here is a photo of the adhesive spray:
With the web pieces on the bags I then made the ribbon Loopy Pompoms for each bag - I had seen the video by Jeanine J showing how to make these:
https://www.youtube.com/watch?v=7X7W0V82udw&t=9s
Thanks to her for sharing this idea! I made five of the ribbon pompoms using ribbons from my stash. I sprayed them all with hairspray to make them stiff and to hold their shapes. While those were set aside to dry I added sequins and glittered bugs I punched out of glittered card stock to my bag front. Did not know what adhesive would work on the web pieces for the bug and sequins so I used rubber cement with a small paint brush to add that to the back of the sequins and the bugs. Put these all over the web pieces. (The orange, purple, and black sequins are from a package from the kid's craft section at the Dollar Tree. The gold and silver sequins are from my stash).
Used various Halloween dies and cut out glittered and foiled card stocks. Also cut out the same words from the card board from a kleenex box and put the glittered and foiled words onto the card board words using TomBow glue. The card board gives the words shape and also makes them higher than the bugs and sequins so this gives the bag fronts some dimension. Here is a photo of each bag, then the bag front, then the ribbon pompom for each:


Bag #2:


Bag #3:


Bag #4:


Bag #5:


IRL the web pieces on the bag front are very shiny and sparkly. The sequins also add some sparkle and shine. LOVE the ribbon pompoms and her video is very easy to follow and these are very easy to make. Key to them is to use gross grain ribbon as that ribbon is sturdier than the printed satin ribbons and it holds the loop shapes well. What a fun way to add ribbons to the gift bags but not in a bow form.
Am now working on the tags for these bags but am glad they are all finished and will be ready for the Halloween holiday. Will work on my tags and then the treat holders for the chocolates inside that I will add the week of Halloween. *** Tags are below:
For the tags for these bags I wanted something small but also sparkly -- used a small Happy Halloween die from my stash and I cut that out of black glittered card stock. I used all scrap coloured card stocks for behind the die cut piece as well as the scalloped circle behind that:

This black glittered card stock is very sparkly and I bought that at Hobby Lobby. Here are photos of the bags with the greeting tags:


For now I just laid the greeting tag on each bag and I will attach them once I fill the bag with holiday treat holders. Not sure if I will tie the tag on the bag handle or put it someplace on the bag front. Each of the bag fronts are different from the size web piece I cut or the sequin placement, etc.. Will have to see what works with each bag once they are ready for the BOO Day festivities the week of Halloween. Glad they are all done and finished.... now onto other projects.... ;0)
1 comment:
They look fabulous Candee! Very festive! Hugs, Brenda
Post a Comment