Showing posts with label Post It Note Holders. Show all posts

Sunday, July 5, 2026

One thing leads to another. . .

Recently sorted all the beads/spacers/jump rings/charms and that lead to this post.... Made holders for the beads using the small acrylic drawers from Dollar Tree that I was finally able to locate:


Now that the beads were visible and sorted and waiting to be made into some projects.... Upcoming project for this craft room ahead which I will post the last week of July but for now I used items on hand and made beaded pokey tools with a dangle:


I use the scribe pins from Hobby Lobby and although I had many on hand I wanted to make 4 more of the beaded pokey tools so I waited until the scribe pins were on sale and bought them for 40% off. I had all the beads, charms, spacers, chains, pins I needed so I pulled out the drawers of beads and began putting the beads and spacers on each scribe pin. I did not use adhesive yet in case I wanted to change out any of the beads.  Once all the beads/spacers were on the scribe pins I used E6000 adhesive and put the beads/spacers on each scribe pin. Let these sit over night so the adhesive set. For the dangles I used seed beads, charms, and plastic flower charms on each pokey tool. Here are photos of some of these close up:


For these three I used a bow charm at the top of the stack of beads. Some of the beads I only have one of so I tried to put together a pokey tool that would have that colour group:


To package these I used plastic earring backs I had on hand for the sharp tips. Then I used the longer snack bags from the Dollar Tree to put these decorated pokey tools in:


With that project done I decided to use up all the mini Post-It notes I had in the stash for Mini Post-It Note Holders. The pattern I used is from Sandra Ronald on YouTube. For my holders I only used double sided 6x6 card stocks. To make these I scored my full 6x6 sheet of card stock and then I cut them to the size I needed for the holders. This way I cut this one piece paper into 3 pieces but only had to score one time per sheet. Once all the sheets were scored and cut I creased the scored lines using the bone folder. Here is a photo of one of them cut and scored:

 
Added liquid glue to the two end flaps. Once dried I used a corner rounder punch for the four corners:


Added my mini Post-It note pad to each holder and I used small Velcro brand Velcro dots to close these:


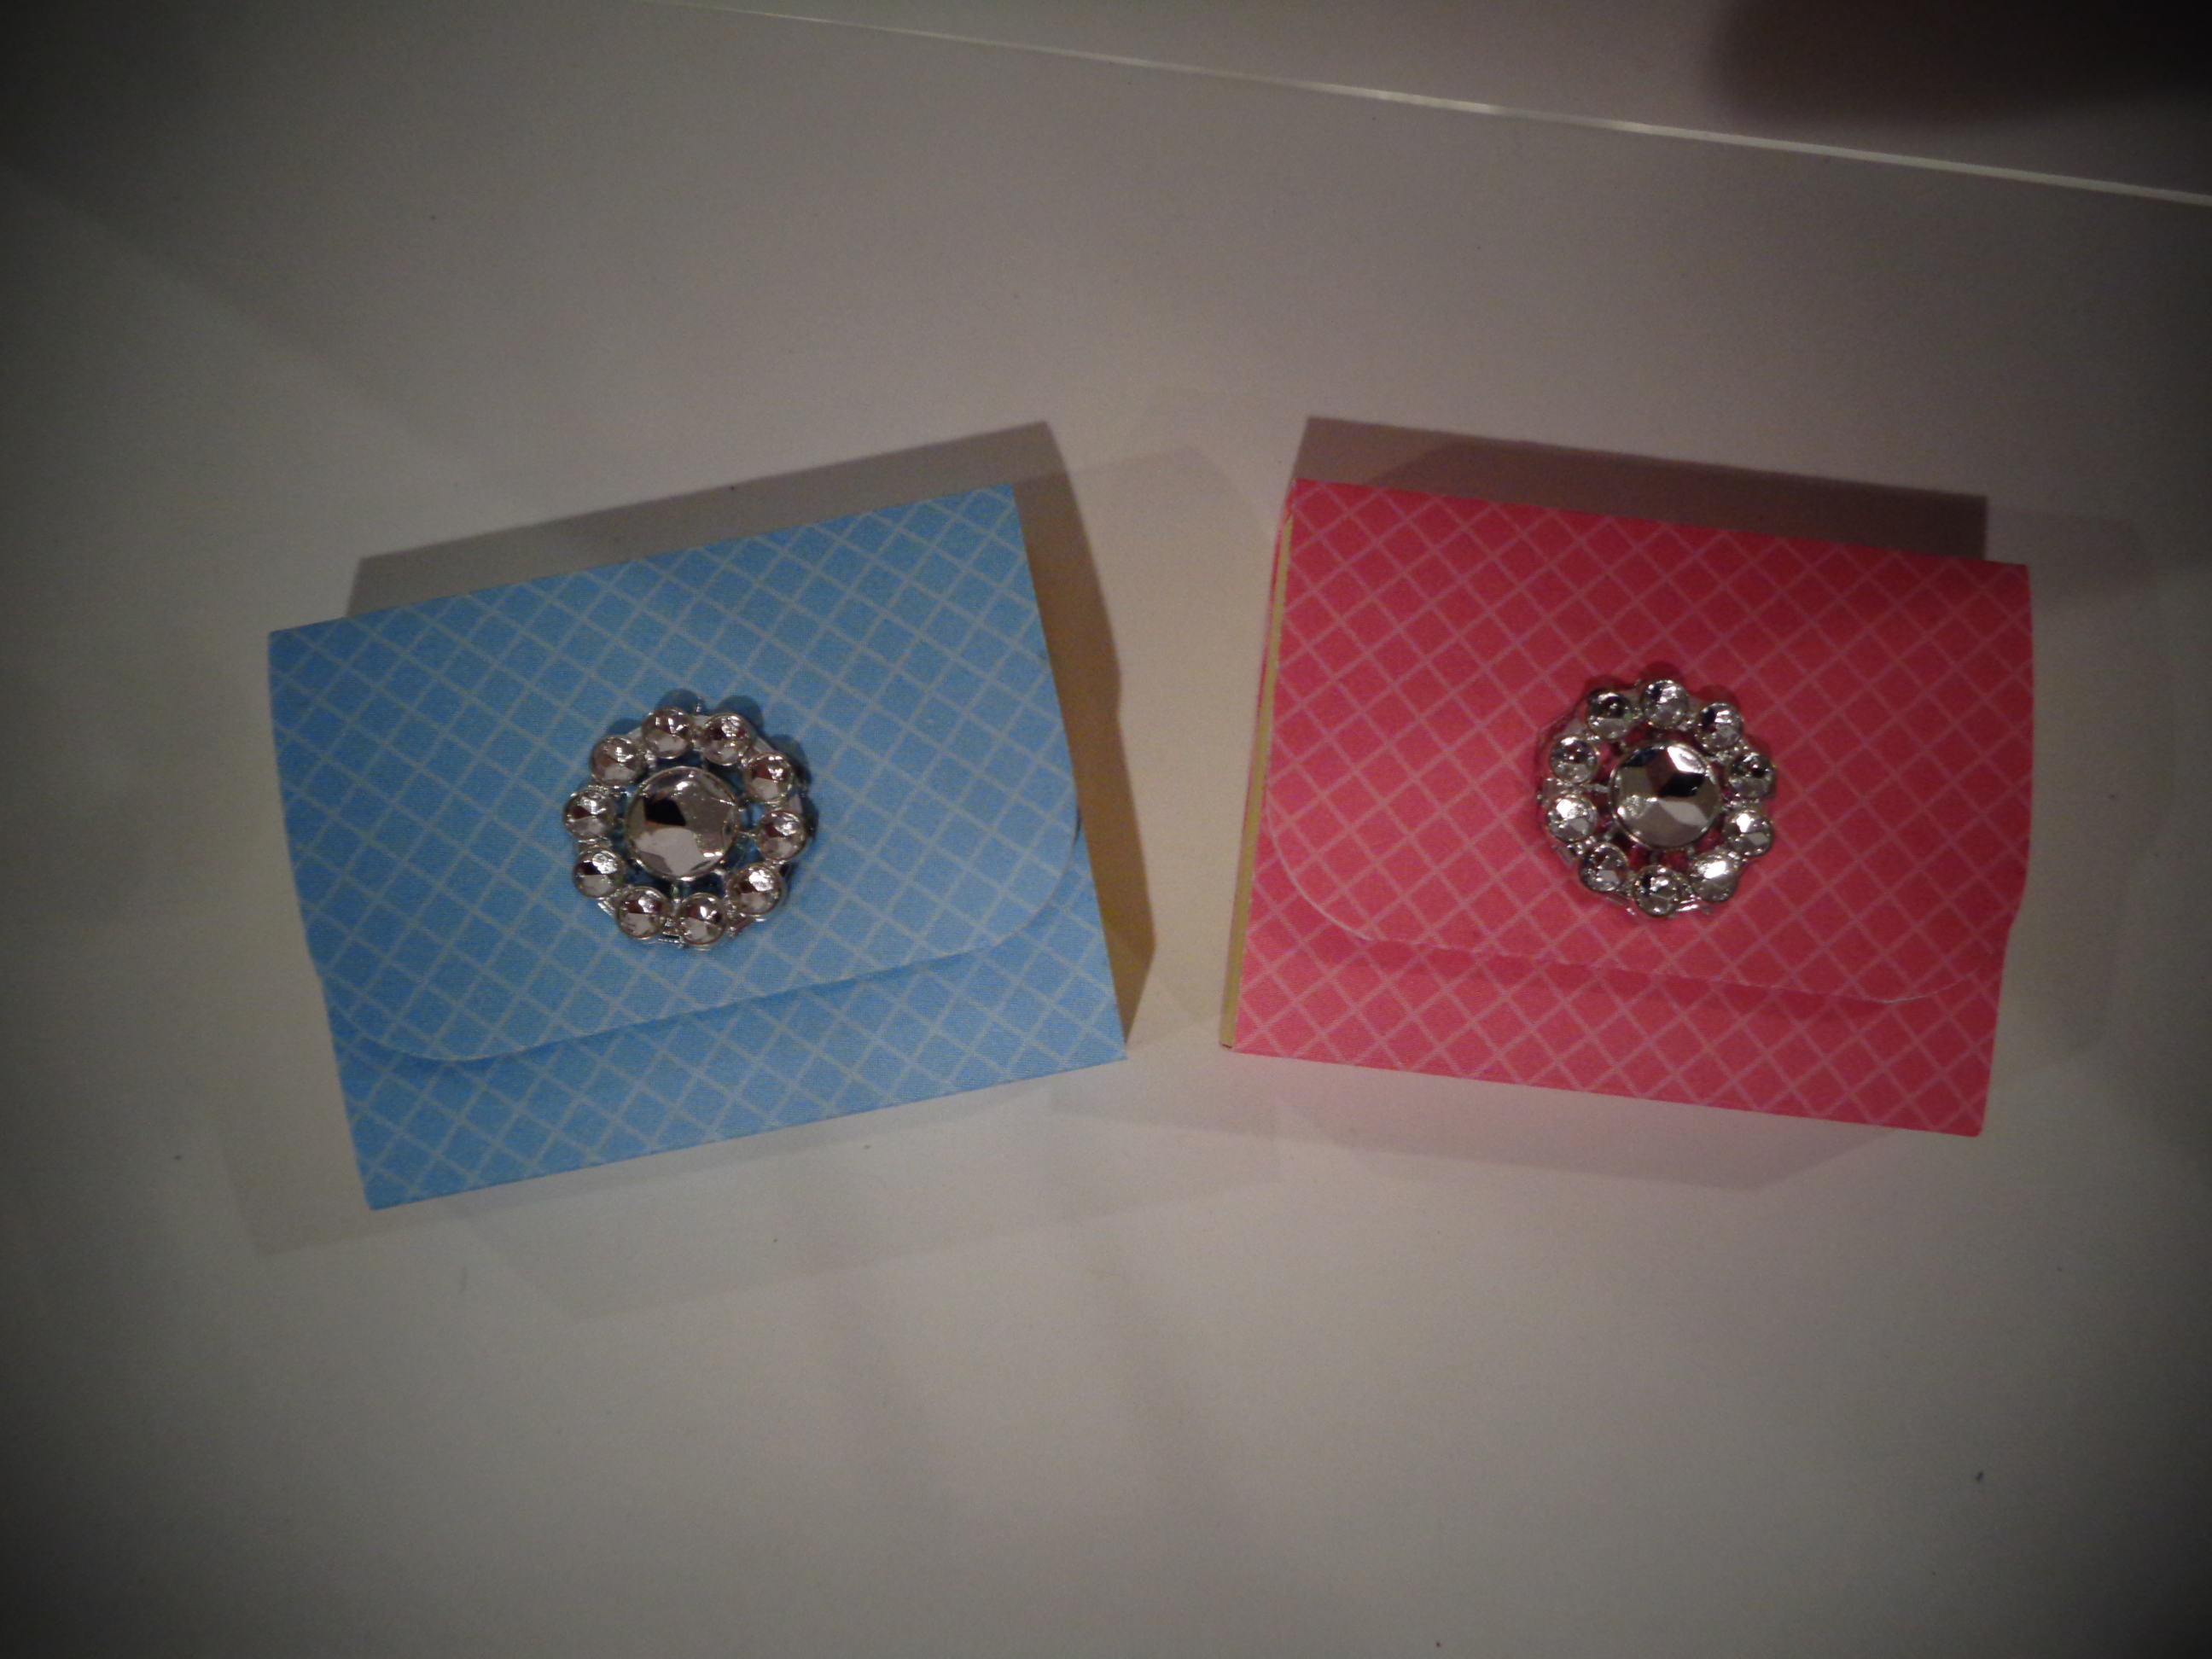
Sorted them by prints to make it easier to add the gems to the fronts of the holders:


Used hot glue to add the gems from the stash to the front of the holders:


Full basket of Mini Post-It Note Holders ready to go:


Most of these mini Post-It note pads I bought at Ollie's awhile back. They are the Staples brand and Ollie's sold them in a package of 12 for $1.99. Happy to use up the mini Post-It note pads and more of the 6x6 card stocks in the stash as well as the stash gems on hand. Glad to use more of the items on hand for a project ahead..... Both the beaded pokey tools and the Post-It holders go together quickly and both are easy projects to make!


Monday, April 7, 2025

6x6 Paper Projects

For Easter projects I wanted to use more of the 6x6 card stock pads in the stash. For the first treat holder I used a piece of 6x6 card stock and made a sour cream treat holder. There are lots of videos and patterns on YouTube showing how to assemble a sour cream treat holder. If you do not have a crimping tool for the top and bottom of the treat holder you can always use your scoreboard and tool to mimic the lines the crimper makes. 

This next treat holder is for 2x2 Post It Note holders. From one piece of 6x6 card stock you can get three Post It Note holders. Here is a photo of a couple of the holders I made:


For this pattern I had seen this shown on a video by Sandra Ronald on YouTube long ago and since then this is the pattern I use for the 2x2 Post It Note holders. Here is a photo of these holders open to show this pattern gives you enough card stock to make a flap for the front pieces to make them stronger with the Velcro dot closure:


For my 6x6 card stock I used double sided card stock so it has a design on the back side which you can see when you open this holder. Once my holders were cut and scored, I used liquid glue for the two end flaps folded to the inside of the holder where you put the Velcro dot closure. The flaps make the holder sturdy for use.  Here is her pattern:

Cut card stock 2" x 6"

Score this at:

3/4,  1 3/4,  2 1/8,  3 5/8,  4,  5 1/4

Once scored use a bone folder to crease all the lines. Glue the two end flaps to the inside of the holder. Put tear and tape on the back of the 2x2 Post It Note pad at the top where the sheets have their adhesive. I used a corner rounder punch to punch the corners on both end flaps. Remove the paper from the tear and tape and put the paper pad on the holder. Fold on all score lines. Mark the center of the inside front flap with a pencil and put your mini Velcro dot over that. Close the holder with the Velcro dots (top and bottom Velcro dots are already together in the package) in place to have the front and back Velcro pieces line up. With the holder closed I used a large glue dot to add the circle gem on the holder front and I bought those long ago from the Dollar Tree. I used these because they are flat:

For my Post It Notes I used their brand so I knew they would fit my holders. Another great use for the 6x6 paper pads in the stash and very easy to put together. You can save time if you are doing multiples by using a full sheet of the 6x6 paper and score this sheet as one. Once all the scored lines are made then cut it into the 2" strips for your 2" x 6" piece and you will have 3 scored pieces for 3 holders all at once. Very easy holder to put together and something that can get tossed in a purse for notes along the way.....


Wednesday, December 27, 2023

Mini Post It Note Holders

Had seen the video by Crafting with Paula on YouTube showing how she makes her mini Post It Note holders so I made some to put in my treat bags for Christmas:

No pattern or die needed and they went together quickly. All my mini Post It Note pads have the sticky tops and not on the sides -- Amazon sells both top and side sticky notes. I used double sided card stocks from my stash and I decorated the fronts using decorated corner punches for the front flaps as well as gems from the stash. I even made a couple of holders for the larger Post It Notes I had in my stash:


One score mark is used on these holders and you fold the card stock for the rest of the creases/folds so no odd measuring and scoring for these. They went together very quickly and fun to make. I did not want to make all Christmas holders so I decided to use prints and floral card stocks instead for these. Thanks to Paula for sharing her very easy to follow video and pattern for these cute holders!


Thursday, July 20, 2023

Post It Note Holder

Had seen other crafters feature their Post It Note Holders on YouTube so I went to Etsy.com and bought a Sticky Notes Bookbinder Guide Template sold by the "CraftyShopbySache" store. I have bought from this seller before and her items are nice quality and she ships quickly. Here is a photo of the three Post It Note Holders I have made:

I have not decorated the fronts of these Post It Note Holders yet but I wanted to feature how I keep these closed -- first here is the template I bought for my 3x3 note holders:

Just lay it on the backside of your card stock and trace around the shape with a pencil. Cut out using scissors and this is very easy. I used the back cardboard from a paper pack for the card board I cut for the front/back covers and spine piece. (Crafty Crafts by Deanna on YouTube shows the assembly of this holder from start to finish on her YouTube channel). 

This post shows 3 ways to close the holder - first I used ribbon on my fall holder and I put the ribbon on the inside of my holder under the lining piece:

With the ribbon on the inside the front and back pieces are flat:

This next holder the ribbon is on the outside of the holder:


Using wrinkled seam binding for the ribbon closure is a lot flatter and not as noticeable as the orange and white ribbon for the closure. 

This next holder is closed with a magnet and a stainless steel washer:

Always liked the ease and the look of using magnets to close items but did not like the thickness of two magnets stacked for closing. "DawnsInspiration" on YouTube has a video from many years back using another way to use magnets on her projects without the height. She uses a magnet and a stainless steel washer for her projects. I went to Ace Hardware with one of my small magnets and I bought washers that are a little larger than the magnet for my closure and as you can see it does not make the closure too high:

Never thought of using a washer but am happy she shared her idea. I will be using her idea for projects ahead! For all my Post It Note Holders I used card board from paper pads rather than chipboard and they are still sturdy. Now that these are done I can decorate the front of them but I wanted to show the ribbon closings so you can see how it makes the covers look. Very easy template to use for the holders I made. I bought the one that holds the 3x3 Post It Notes. A nice little gift to tuck in a treat bag or a gift bag and can easily go in a purse or sit on a desk. 

Another photo to show the washer stuck to the small magnet:


and a photo to show the washer I am using is a bit larger than my small magnets: