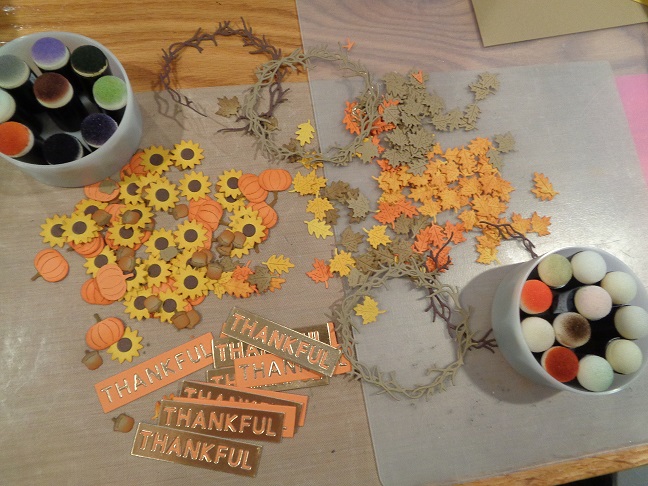
Want to share a new product I just got in the mail and the pros and cons of it but first had to clear off the work table:
Working on Thanksgiving cards but wanted to have a clear surface for my photos - I just bought the Tonic Studios/Tim Holtz Deckle Torn Edge Trimmer which arrived yesterday with the mailman:
I do not have any other trimmers from the Tim Holtz line so I did not know what to expect for quality but I did like this trimmer will give you the deckle edge look on your card stock. Here is a photo of the trimmer right out of the box:
This trimmer will replace my old Fiskars deckle edge scissors for sure but it does not cut a 12 x 12 piece of card stock due to the size of the platform. There are also size markings on the trimmer surface but they are black on a black platform so it could be hard to really see them if you are trimming along:
I had checked reviews of other crafters for this product before I bought it - remember I am a card maker, not a scrapbooker, but for me for my cards, tags, or maybe for a crafter that does junk journals this is good tool to have. You do not have to buy a die set for the deckle edge that only die cuts certain sizes. I used a scrap piece of white/GP card stock for my sample piece.
One of the most mentioned complaints on this trimmer is if you place your card stock at the top of the trimmer and then cut it the first section getting trimmed away is not really a deckle edge. For my sample I made a pencil mark arrow to show the upper right corner which is the first edge I cut:
Now after that first edge was trimmed:
I put the white card stock piece onto a piece of black card stock to show the deckle edge and how further down on the trimmer the deckle edge is more prominent. To fix this I used the lines on the trimmer surface to line up my card stock and trimmed it again - kept turning the card stock until I had all four sides trimmed:


I will also say I thought this would be a heavier tool - it is lightweight and the the handle side is heavier of course. For this card maker this tool will get used but once again I will use it for smaller card stock pieces and not a scrapbook page. It can do the edges for card stock pieces as well as it can be used for banners and greeting pieces. Plus the edge is different from the top to the bottom of the cutting blade so all four sides do not match which is true deckle edge. I have the old deckle edge ruler but many times while tearing the card stock using the ruler the core of the card stock can show and this trimmer just gives a clean edge to it. I did expect this to be a heavier tool than it is and it is disappointing that the top of the first edge corner is rather plain but I know now to make my edge cuts further down on the trimmer to avoid that first section. Not sure if Tonic/T Holtz are aware of the reviews of this problem but maybe on future models it could be fixed. But for me, for what I bought it for, this will work.I just don't like that the first top section you trim is rather plain before the deckle edging gets cut so that gives you limitations - esp if you are making lots of cuts on card stock pieces. I am so used to putting card stock in the upper right corner to trim . . .
Also - awhile back I had seen a crafter use this Dollar Tree make up applicator on her video to apply texture paste over a stencil and she explained it works better with the paste than the plastic spatulas. I had to go to a couple of stores but I did find it. This is what it looks like:
The applicator end is silicone and she cut off the curved edge of it to make it straight:
The above photo shows it with the curved edge and then a straight edge after I cut the curved edge off. I tried this as a sample to see if it did work better and what it looks like. Sorry it is hard to see white on white but I was using scraps on the work table:
The sample piece on the left was made using the make up applicator and the sample on the right was using the plastic spatula. The make up applicator gives the texture paste a smoother finish but the spatula shows the pattern better of the stencil. Here is a closer photo of the two:
For the brick stencil I used on the sample I like the thicker paste better to show the jagged edges of the bricks and with it being thicker it has more dimension - but the smoother finish on the left is also nice so I would guess it would depend on what stencil you used or look you wanted.
Back to work on the Thanksgiving cards and everything else going on in this craft room. . . before we know it it will be Christmas projects again.... Happy Crafting!


2 comments:
Thank you for your review of the Tim Holtz (by Tonic) deckle-edge trimmer. I'm interested in the many comments about having a straighter-than-deckle edge at the top of the cut. This is the same way my father's deckle-edge cutter is -- 1945 vintage and also lighter than expected. I've always assumed it was because the blade had to "ease into" the deckle-edge, that trying to cut that random edge would result in mere shreds. I love using deckle edges on cards, too, and look forward to your upcoming creations!
I always enjoy your review, Candee, and I appreciate that you give both the pros and cons!
Post a Comment