Sunday, July 21, 2024

Mushroom Card #2

Recently The Greetery sent out an email that they were having a sale to help fund the recovery of their small town from a flood due to weather. With every purchase they would give money to this fund to help their town with the recovery. I order their die set BontaniCuts Toadstool Garden die set and here is the card I made:

My card stock base is Kraft, cut and scored at the top. Used cream card stock and die cut the cover plate Cross Stitched from PaperTreyInk for the card front. Used liquid glue and added that to the kraft card stock base. 

Die cut all the mushroom pieces in the die set from cream card stock. Ink blended these pieces to add the colour. Used the greenery and single mushroom die pieces from the PaperTreyInk Into the Blooms:Mushroom Die set to add to my mushroom focal piece. The base of this focal piece is a rectangle cream card stock that I cut out using rectangle dies from the stash. I used that same rectangle die set to cut out the blue frame for the card front. Used liquid glue to add the blue frame to the cream base. Used a grass die from the stash and scrap green card stock to cut out the grass piece.  Used liquid glue to add the greenery, grass and mushrooms to the framed piece. Here is a closer photo of this piece:

Added blue crystals from the stash to add sparkle to the card front. The greeting "Blessings" is from a Trinity Stamps stamp set and I stamped that with rust ink and used a banner die set from Pink and Main to cut that out. Used foam tape to raise the rectangle focal piece up on the card front. 

The nice thing about the PaperTreyInk Cross Stitched cover plate die is you can see the coloured card stock base through the lines that this die cuts in the card stock. Also this mushroom die set from The Greetery die cuts all the circles for detail on your mushroom tops so this is an easy card to assemble. Another fun mushroom card to put together. 

Mushroom Card #1


*** This card was chosen as a Favorites of the Week on Splitcoast Stampers for this week. Happy they liked it! ***

Mushrooms are popular in crafting and home decor now. . . so I picked up the PaperTreyInk Into the Blooms: Mushrooms die set and made a card:

For my card I used a card stock base of Kraft card stock cut and scored at the top. Used a swirl design cover plate die from the stash for my cream card front piece. Used liquid glue to put this onto the Kraft card stock base. For the center piece I used two circle dies and cut out a circle frame from rust card stock. Cut out the HoneyBeeStamps Burlap die from cream card stock. Used a circle die and cut that into a circle. Used liquid glue to put the rust circle frame onto the burlap circle die piece. Set these aside to dry. 

Die cut all the mushroom pieces with the greenery pieces from the die set using the cream card stock. Used blending brushes to add colour to all the die cut pieces. Used scrap green card stock and a grass die from the stash for the grass piece.

With all ink blending done and the circle pieces dry I 'built' the focal point for the card front onto the circle pieces. Once everything was added again I used liquid glue to add this to the card front. Here is a closer photo of the card front circle pieces:


This die set has the small dies that cut out the little card stock circles to add to the mushroom tops. Those are easy to add for detailing using liquid glue. The greeting is from a stamp set from Trinity Stamps and I used rust ink for that. Added crystals from the stash for some sparkle for the card front. 


Gnome Tree Cards

Spellbinders had their Warehouse Sale so happy me I picked up their "Gnome Tree" die set. This is a cute die set with lots of detail and it can be used as it shows on their packaging and you can also cut apart the gnomes and use them on their own. Here is a photo of the die set packaging:

For my first card I used all scraps for my gnomes and I wanted to use many different colours. Here is the first card I made:

I wanted to make this a shaped card so I cut out a white card stock base, scored on the side, and I put the background die piece onto the white card stock base with the die piece just off the edge of the scored line and so this card opens with the scored line on the side:

First for this card with all the small pieces of the gnomes with their hats, robes, sleeves I wanted to be sure I had things in the right place on the card front. This die set has an outline die piece and then the detailed gnome piece that cuts out all you need for the gnomes. I cut a piece of white card stock larger than the detailed gnome die piece and I used tape to put this die onto the white card stock base. I used the foam mat in the Big Shot to cut out and emboss the die piece so my white card stock would have an impression of the gnomes piece:

Having the pattern on the white card stock base it made it easy to put all my die cut pieces in place using liquid glue. First put the hats on, then the beard-do not glue to the edges-and then the robe pieces and the arms. This makes assembly easier. 

For my gnomes, once all pieces were cut out, I sponged the edges of the hats and then stamped the hats with small background stamps to add patterns to their hats. Last I added the noses and then the shiny black shoes. Used gold poster board from the Dollar Tree for the string of lights and used glittered card stocks for the ornaments. The greeting "Be Merry" is from the My Favorite Things/MFT Stamps die set "Snow Globe Sentiments" and red ink. Cut this out using the banner die set from Pink and Main. 

My next card I wanted to use the traditional Christmas red and greens:

Again used red and green card stock scraps for the gnomes. Added gold glitter card stock for the stars. The greeting "Merriest Wishes" again is from the MFT Stamp set:

Once again I made this into a shaped card but for this card I scored it at the top:

On this card I stamped small background stamps only on the red gnome hats and just sponged the edges of the green hats. This gnome die set looks complicated but working with the embossed white card stock base made piece placement very easy. Here are both cards:

Also these gnomes can be cut apart and used for other projects. Fun holiday cards! Plus it was on sale so that is always a good thing. . .

Candy Cane Card

A new die set just released from Spellbinders "Candy Canes and Holly" was used for this card:

For my card I used a red card stock base scored at the top:

The candy cane in this die set comes with the candy cane stick die and then another die cuts out the smaller pieces you cut out of red and put onto the white candy cane stick. Very easy to assemble. Last year I had bought the candy cane die set from Honey Bee Designs and that was not easy to assemble so happy this was a very easy die set to put together. 

For my small poinsettia I used the Poinsettia die from Scrapdiva Designs and scrap red card stock. I cut out the flower and layered it together and then added a gold pen to the edges of the flower and then went over that (once dried) with a gold glitter pen. Here is a close up of the flower:

I used the holly leaves from the Candy Canes and Holly die set and doubled those up and then sponged the edges with green ink. I used gold twine and put that behind the flower using a glue dot:

For the white lattice background behind my candy canes I used the Lattice Background cover plate die from Ellen Hutson and cut a piece of white card stock to go behind that for the card front. Used liquid glue to add the lattice piece to the white card stock front piece. 

For the candy canes - first I die cut the two candy canes and put all the die cut red pieces onto the candy canes but when I crossed them on each other they would be too high for my card front:

So I cut out two more candy canes, decided where on the cane I would cross these, and then added the red pieces, leaving off the red pieces where I was going to cross the canes for stacking:


Leaving off those red pieces on each cane where they cross lets this be flatter on the card front so the poinsettia flower I added lays flatter on the card front. These candy canes went together easily and the candy canes are a nice size for the card front. 

I ordered this new die set with another new die set from Spellbinders on their website:

Two fun die sets for holiday projects ahead. The candy canes will also look nice on gift tags for Christmas gifts. 


BOO Halloween Card

Once again designer Nicole Sphor is working with Spellbinders for new Fall releases. I ordered this die set she had designed and wanted to make it into a Halloween card. Here is a photo of her new design "Faux Embroidered Pumpkin":

Here is my card:

I used a light lavender card stock for the card base, scored at the top. For the background I looked through my background dies in the stash and decided to use the Impression Obsession/IO Stamps Spiderweb die. I cut this out of mirrored black card stock:

With the smaller die pieces in this set I used scrap card stocks and cut out the flowers and leaves for the base of the pumpkin. For each pumpkin I die cut two pumpkins and put them together using liquid glue for make them more sturdy. Once dried I sponged the edges to give them some shading. The greeting "BOO" is from the Spellbinders Boo-licious die set. That was a Large Die of the Month Club they offered for Sept. 2023. I bought it when it was on sale.

She designed the witch hat so when you cut it out it makes a slit on the rim of the hat so it easily slides over the left side of the pumpkin which helps keep it in place. I used glue dots to add the flowers to the base of the pumpkin and liquid glue was used to put the spiderweb background piece on the card stock base. Very easy die set to put together and the pumpkins are a nice size so they can easily be used for other Fall projects besides Halloween. 


Saturday, June 8, 2024

A Day at the Beach Summer Cards

Recently Spellbinders held their Warehouse Sale and happy me I picked up lots of die sets that totaled over $132.00 for just $50.00. One of the sets I had seen other crafters use was the A Day at the Beach die set which was offered for their Small Die of the Month club in July 2022 and now on sale so I bought it.  I wanted to use this die set to make summer cards for this year:

Used paper scraps for the beach blanket, hat, bag, and swimsuit. Wanted to have a beach scene but did not want straight lines across the front of the card for the sand and water line so I used a piece of copy paper and tore a piece off of it and that used that edge for adding ink to the white card front. Here is a photo of the torn copy paper over a green envelope to show the line this torn edge made:

With the torn edge on the white card stock front I used blue ink and blended that over the edge to give me the dark blue on the card front. Removed the copy paper and then I blended more blue on the blue side of the card front with a gentle hand to blend the blue out to the white of the card front. Then I used a beige ink and at the bottom added more ink for the sandy area and when I got closer to the blue line I left white showing. Here is a photo of a finished ink blended front to show this before I added all the pieces for the card front:

First I cut all the white card fronts and then did all the ink blending. With that done I decided to go through my wood mounted stamps and find stamps to use on this card. The greeting in the lower right corner "celebrate summer" is a stamp from Stampendous from 2007.  The birds in the upper left corner is a stamp from DeNami Designs (remember them?) that I had picked up at a stamp show years ago and I thought it would work to have smaller birds over the water for this card front. With the stamping done on the card fronts I cut and scored the light blue card bases. Added liquid glue to put the card fronts onto the card bases. 

Once all the card fronts were on the card bases I began to add the pieces from the A Day at the Beach die set that I had already die cut out. Here is a photo of one of the cards I made:

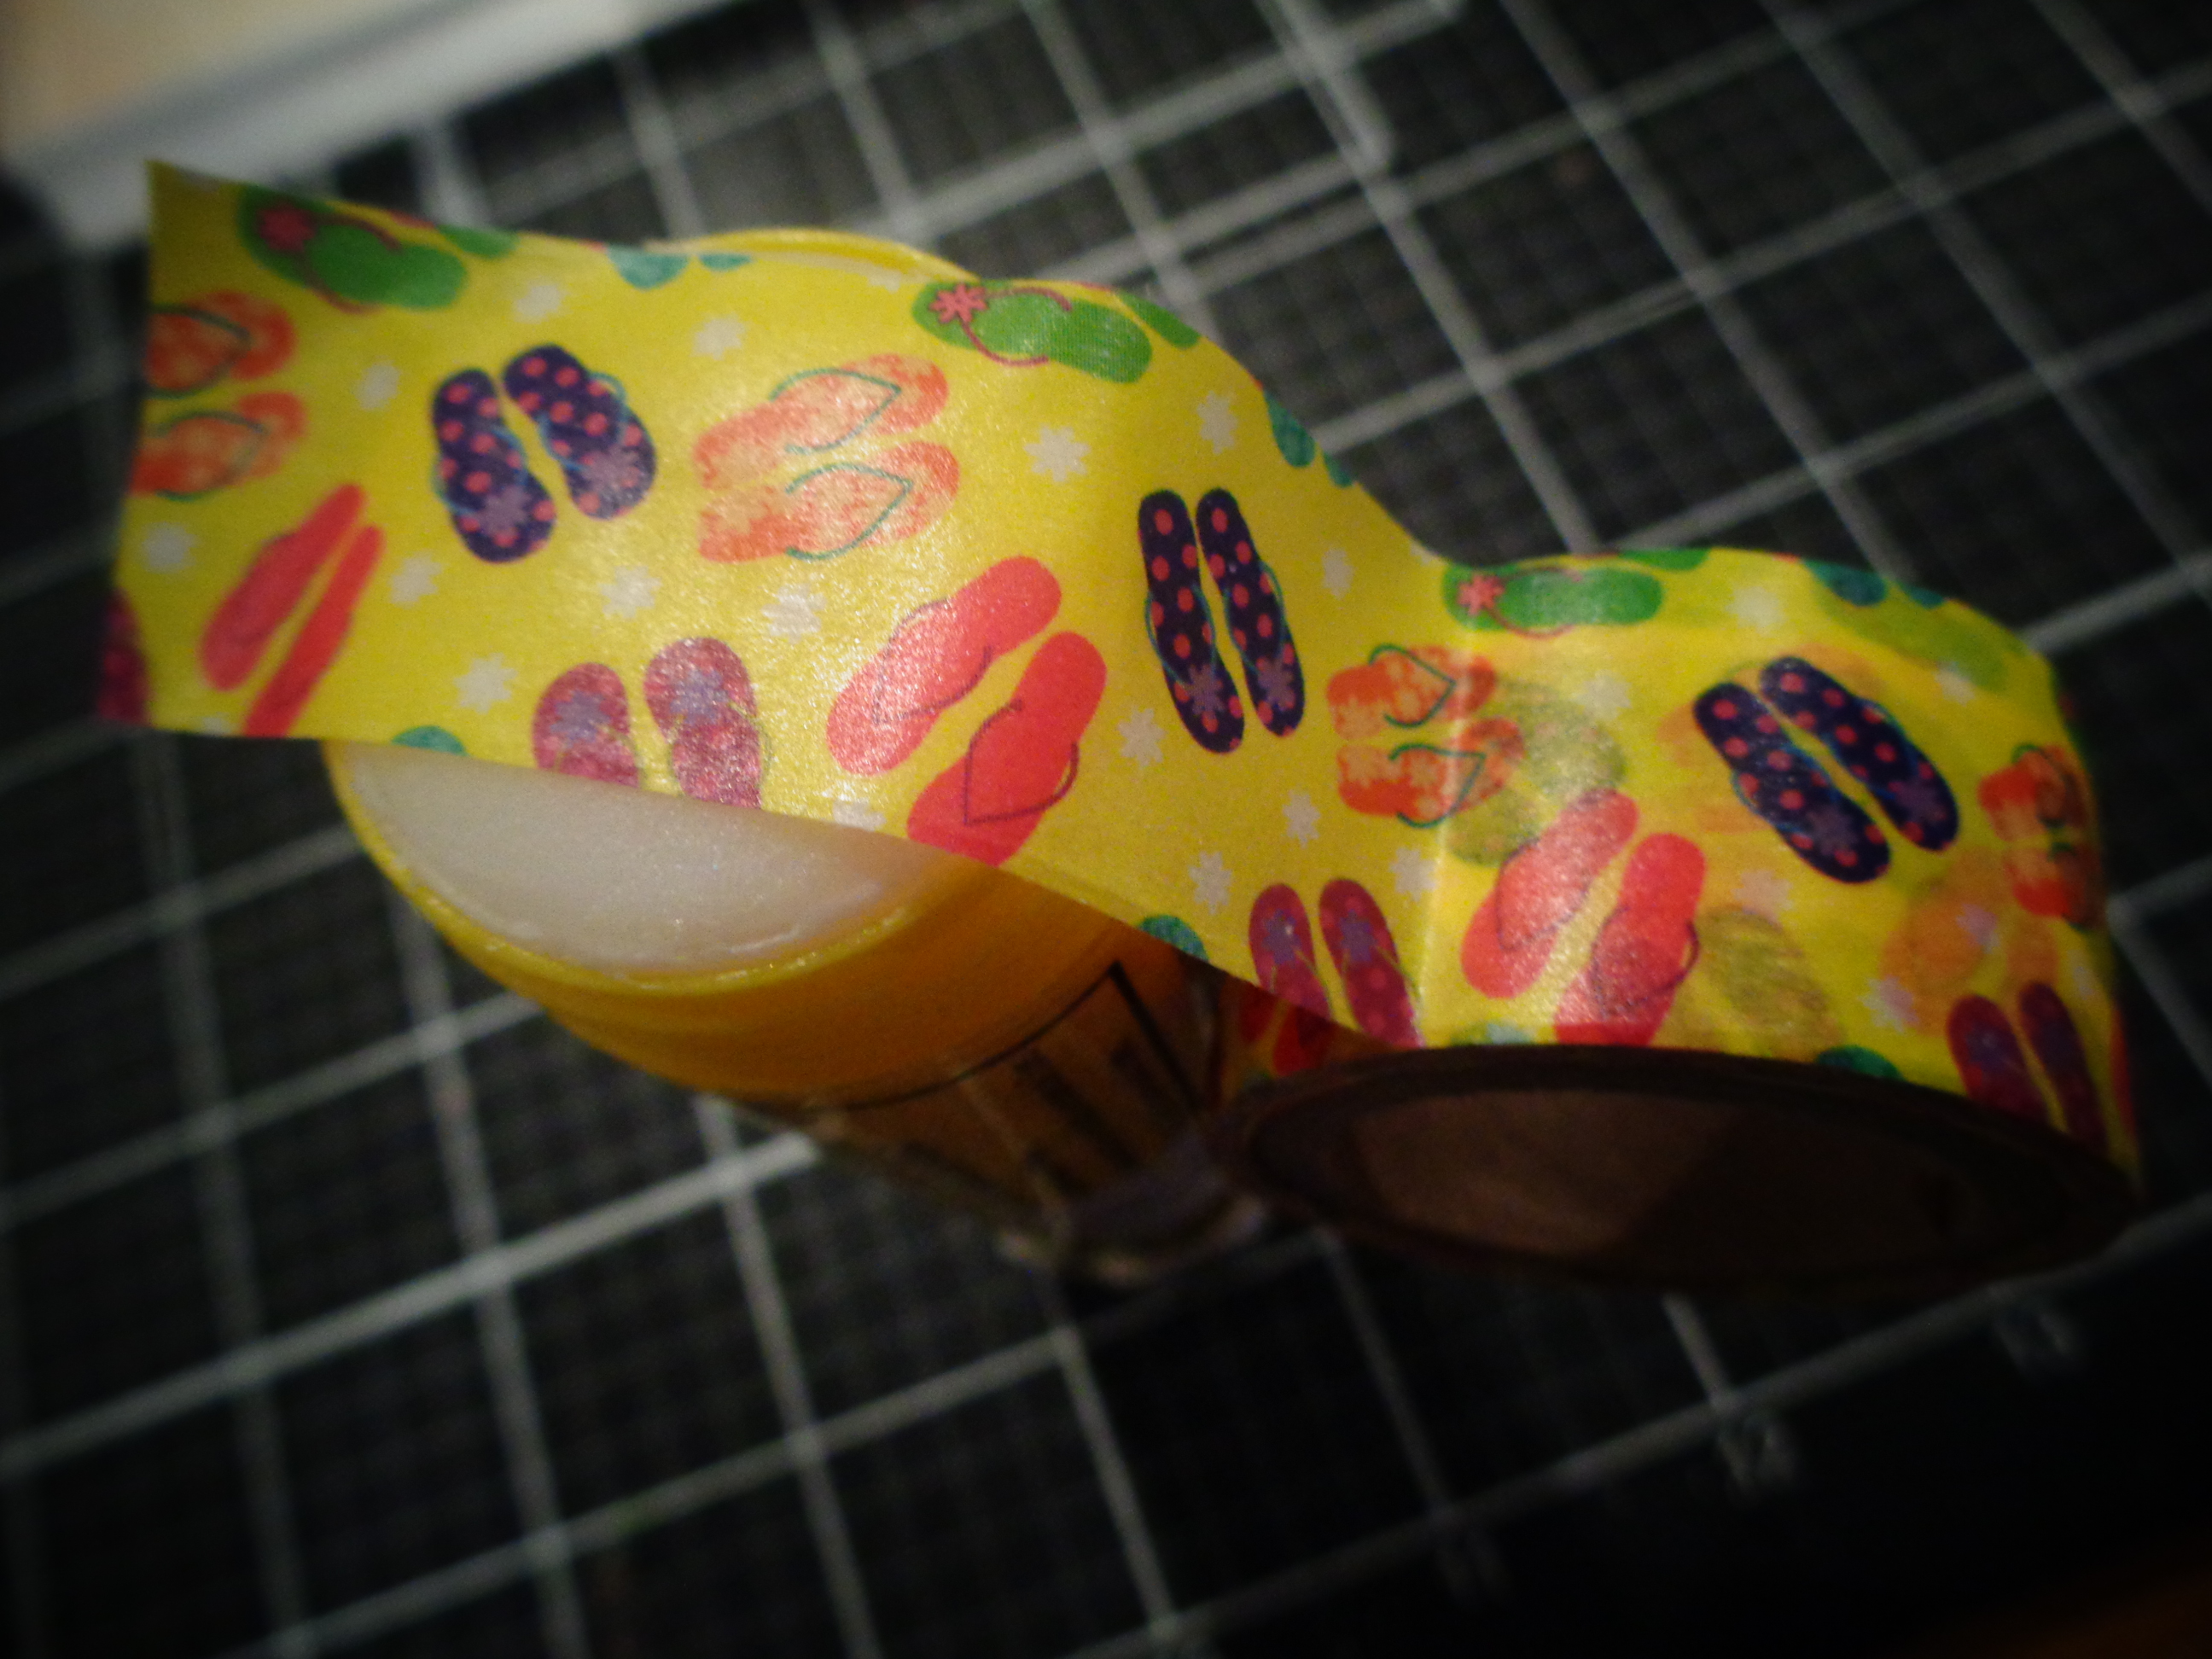
The inside of the card I used a summer greeting stamp "Relax... " from Great Impressions and I have some flip flop washi tape I put inside the card as well - some washi tapes have more adhesive than others but I want to be sure my washi tape does not come off the card stock so I cut it a little longer than I needed and ran it over a glue stick to add more adhesive:

Here is a photo of the three wood mounted stamps from my stash that I was able to get more use out of:

I also used a small bow punch to add a bow to the beach bag front and the back of the swim suit. For the sun I used a circle punch and sponged the edges of that with yellow ink and then an orange ink. Used a small flower punch for the flower on the hat and added gems from the stash to the hat flower as well as the bow on the bathing suit and beach bag. Fun cards to make and good use of stamps in my stash as well as scrap card stocks. 

Saturday, June 1, 2024

Altered Clipboards for Holiday Projects

Here is a photo of the first Dollar Tree clipboard I altered for craft room projects I was working on:

I used a clipboard from the Dollar Tree and using craft paint from my stash I painted an inch on the front and back edges of the clipboard to add colour. Once dried I used ModPodge and put a printed card stock on the front of the clipboard and then on the back. For this clipboard I made a charm dangle:


I bought the spiral notebook from the Dollar Tree and it is the 100 page notebook from JOT. For the clipboards I made for craft room holiday projects I knew I would be stacking these clipboards so I did not want to make a charm dangle. Instead I used various ribbons from the stash for each of my clipboards and the ribbons dress up the clip that holds the notebook but is also flat for storage. Here are the holiday project clipboards I made:


For the Valentine clipboard I used a heart printed card stock on the front and a matching print for the back. The ribbons are reds and pinks. To tie the ribbons on the clip I cut a piece of 6 inch long ribbon, folded it in half and put this under the clip. Pulled the loop up and put the ribbon ends through the loop and pulled it tight. To keep the ribbons from coming untied I put some Beacon 3 in 1 glue on a toothpick tip and rubbed that on the clipboard clip and pulled the ribbon tight over the glue to keep it in place. I used both thinner and wider ribbons on all my clipboard clips and the clipboard clips hold 13 ribbons in total. 

This next clipboard is for both Spring and Easter projects. When Heartfelt Creations announced they were closing and no longer selling their stamps, die sets, and cards stocks I remembered all the times I went to stamp shows in the past and would shop their booth. They always had specials going on for the shows so lots of sales.... they also had walls and walls of card/project samples as well as having a demo booth or two so you could see their products in use. I really liked a lot of their card stock patterns but not being a scrapbooker these larger printed card stock pads did not work well for card making for me. I used to ask at the shows if they would ever offer their card stocks in 6x6 pads but that never happened.... so when I wanted to make my Spring/Easter clip board I looked through my printed card stock stash and nothing stood out that would work for this clip board...

I have shopped the Reconsidered Goods store in Greensboro and they sell gently used craft items. I decided on a recent trip there to look through their space they have all their printed card stocks displayed. I went through a couple of bins of prints and happy me to find two sheets of coordinating Heartfelt Creations card stock that would be perfect for the Spring colours and the larger pattern will fit nicely on the clipboard:


and the back:


I decided to make these holiday clipboards as throughout the year when I shop sales I buy holiday items and I do not want to bring the stamps and dies home and put them away and never give them a second thought. This way when I buy a new product I can write it in the notebook on that holiday clipboard it goes with so I will remember later a product I want to use or maybe a project I want to make and what products I want to use. I bought some snap closure storage boxes off Amazon and as I have gotten new sale products in the mail I have put them in these storage boxes and I keep the matching clipboard on top of it:


Here is the clipboard I made for Summer projects and that would also include patriotic projects for the 4th of July:


Then the Fall/Thanksgiving clipboard:


For Halloween:

For Christmas:

I have found that the 100 page notebooks work well with the clip on these clipboards as this clip only lifts up so high so the thicker notebooks may not work with them. To make all of these at one time first I decided how many clipboards I would need and I bought them at the Dollar Tree. Then I picked out the card stock prints for the fronts and backs of the clipboards. I picked out all the paints I would use for the clipboards. I measured the clipboard and made a paper pattern so I could cut all my card stocks to size to fit the clipboards, both front and back. Once those were cut I used a corner rounder punch for all the corners. Put all the card stocks on the clipboards using ModPodge. Once that dried I applied a second coat of the ModPodge. With that dried, I then cut all the ribbons for the clipboards:


The cases I bought from Amazon are close to the size of the clipboards so everything stacks nicely for storage:

Used the label maker to label the cases and now I can keep the holiday clipboard with each holiday case for project products and ideas for future projects. The cases can be easily stacked for storage with the clipboard on top. Happy to finish this project and to sort recent craft items I bought as well as keeping projects I already have and want to use together in one place. 


Sunday, May 19, 2024

It all works until it doesn't. . . Craft Room Storage/Organization

Perhaps if I did not spend so much time reorganizing and moving things around in the craft room I would get more projects done??? One can only hope....

DH recently had surgery and when he came home from the hospital I spent lots of time on the Chromebook looking at videos on YouTube from crafters and their craft rooms and how they organize things.... But the catch was I was not going to go out and buy all new furniture or new bins and start from scratch - happily I only added three drawer bins from Walmart to this new layout. 

Started by making a list of things that were working and things that were not. I already had certain "stations" in the craft room - IE  Jewelry making items together, solid card stocks together, any kits I have are all in one bin, inks are together, etc... but it was the odd things that were the problem -- glittered and plain craft foam sheets, my label maker in one place and refills/batteries in another, vellum here and there, and so it goes.... so as I saw storage ideas on videos that I thought could work for me I would write those down and then think what bins/cubbies I already have that I could use for storage, etc..

Began over at the Alex units - when I bought those I put in the drawers items I thought I would keep there and over time some of the items have ended up in a smaller storage area or the collection of a type of item would grow out of the size the drawer allowed and so it goes..  I moved my cubbies that I have had for many years over to put on top of the Alex drawer units and then I put the cubbies that are meant to hold card stocks or plastic bins on top - here is what that area looks like now:

I had the smaller bins by IRIS for many years so I just reorganized those and labeled them so I know what is inside. For now they are in the cubbies but I plan to move them around to alpha order by the label. Years ago when I got the Alex units I used the DYMO label maker to label the fronts of the drawers but over time the labels have yellowed. Since I would be moving things around anyways I went on Amazon and found clear adhesive label holders I could stick on the fronts of the Alex drawers and these label holders have a clear pocket so I can put my printed label inside this holder and easily change the labels out if I should have to move anything around. Here are photos to show these labels:


These photos are the drawers I have my punches in and some drawers will have two or three theme punches in there so it is nice the label holder is large enough to hold my labels. 

One crafter had shown storage she used for her paper pads - luckily I do not have too many of those but I liked her storage -- but not an easy task finding the bins. They are Mainstays - Walmart brand - and they are clear drawer bins that are for closet storage and are stackable and I was happy to be able to locate three of these bins but not at all the same store.....

I used one drawer for Halloween, one for Christmas, and one for Floral and I was happy the clear label holders I used on the Alex units also work on these clear bins:

Things are coming along -- am half way done with the new labels on the Alex units - have moved things around and right now have Post-It notes on the front of the drawers so I can label the drawers with their new contents. Have three empty drawers on my old cubbies I moved but already know what I am moving into them ... as DH heals I am able to spend more time in the craft room so soon enough things will be back to normal in this craft room. Happy with the new changes and from what little crafting I have been able to squeeze in putting things away is much easier now....  which is half the battle..... 


Sunday, May 12, 2024

Sales and Shopping. . .

Spellbinders held their Warehouse Sale and I picked up a few things:


Invoice for my order:

Regular prices were approx $133.00 total but with their Warehouse Sale I only paid $50.00 so that was a good sale for me. They also had another sale and I picked up these three items:


Sad to see I-Crafter closing but I did buy some items for her closing sale:


Altho she is closing I-Crafter she said she will be working with Trinity Stamps so we will still get to enjoy her talents on their website.

Also -- ordered some things from Scrapbook.com at their sale and they enclosed this cute card in with the order:

Too cute and too true -- will keep that on the work table. I ordered two die sets from PrettyPinkPosh during their sale:

Two new releases from ScrapdivaDesigns.com:

Love the floral die that has all the flowers on one plate so with each pass through the machine you get lots of layers for the flowers.... easy to make lots of flowers with this plate.... Lots of new items to add to the craft room for projects ahead.... Happy to always be able to shop sale prices......