
Many crafters have made videos using the Valentine heart shaped paper doilies for projects and turning them into envelopes. For my project I made pink doily envelopes:

Basically you work on the doily with it being upside down as shown in this photo of a sample:

Fold the two heart scallops up towards the top point:

Crease your fold and then open it flat again and this time fold in the two sides:

Again crease your folds and fold up your first part the two heart scallops and this forms your envelope. These doilies are very thin so use liquid glue and not tear and tape:

You need to use little dots of liquid glue to close your envelope. As you can see in this photo you can see the folded pieces behind the front of your envelope flaps --

I put a scrap piece of pink card stock to help this show in the photo. The first pink doily envelope I made I made it as explained above but although I was careful to use dots of glue they still showed through the cut out parts of my doily envelope front - the shiny parts in the photo is the glue:
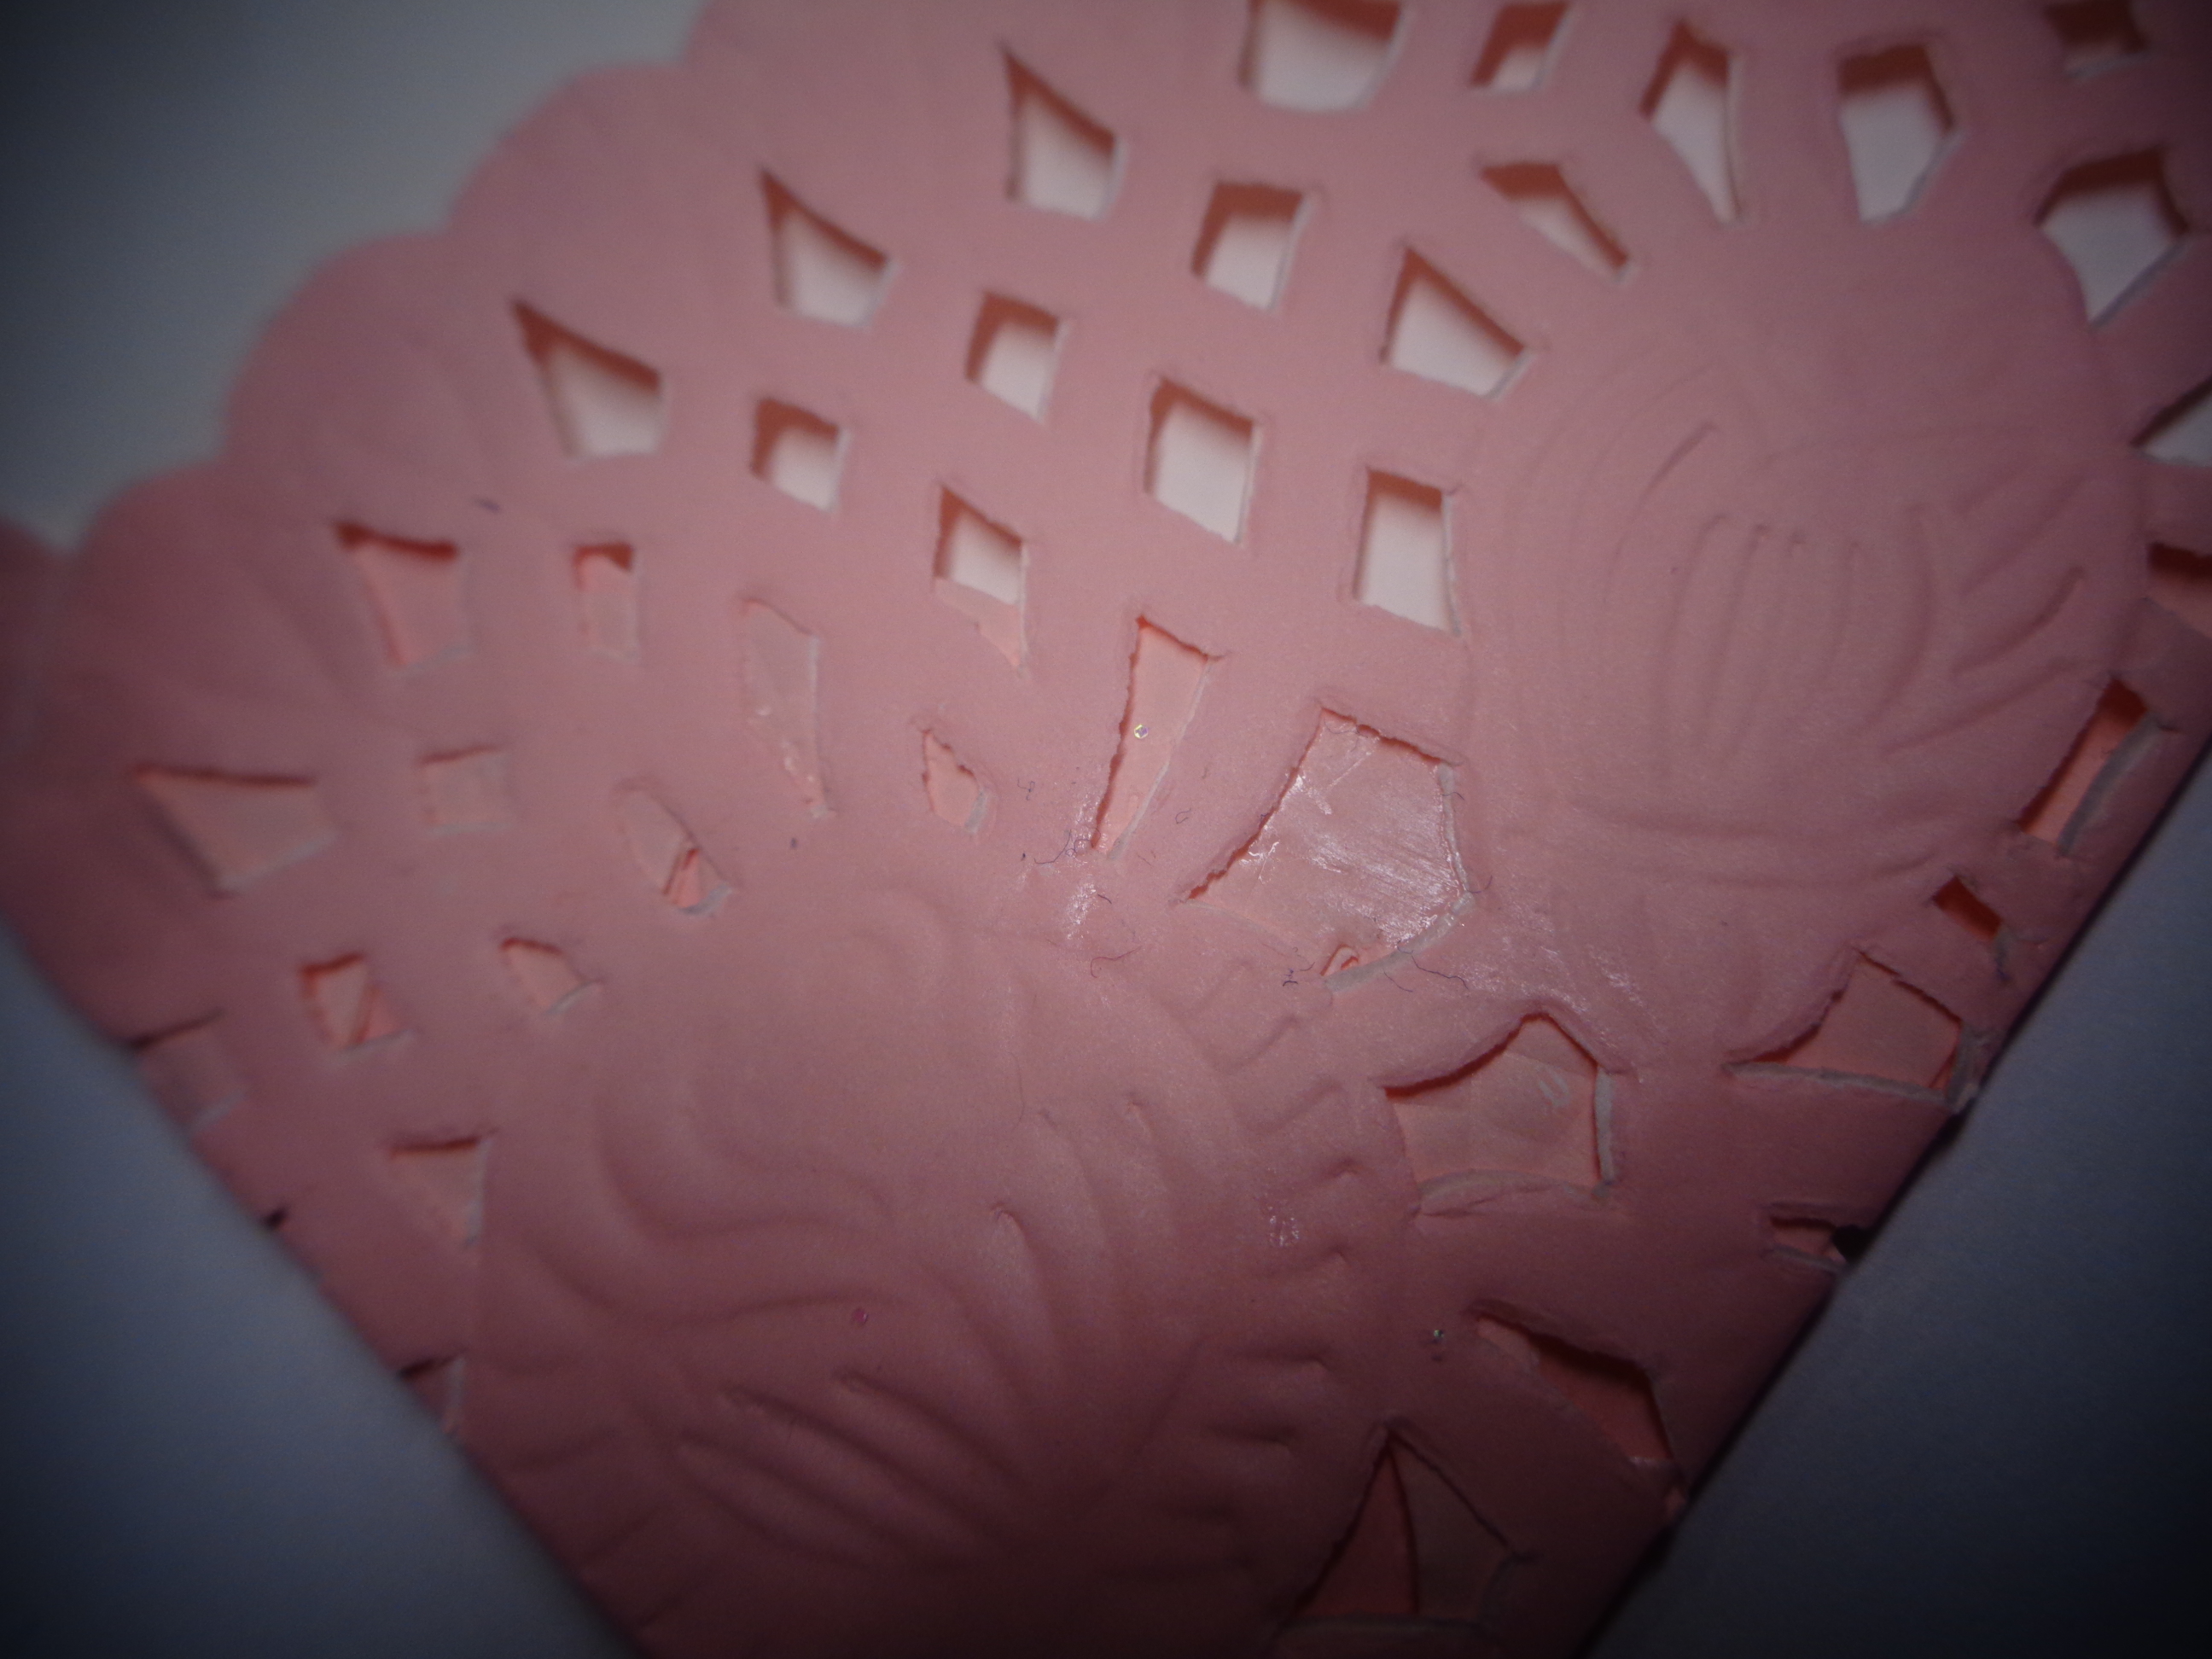
To eliminate that problem once I folded the doily into the envelope shape I opened it up again and trimmed off some of the doily from the side pieces so you do not see the folded pieces or glue from the front of my envelope:

I put in a piece of white card stock inside the envelope so you can see that and not the folded sides of the doily inside. Wanted to have a decoration for the front of my envelope and I wanted to use the Pretty Scallop Rosette die set from My-Creative-Time for my rosette as that set has a larger rosette die and the smaller one I used.
I keep all my rosette dies and supplies in a box together near the craft table so everything is together when I want to make a rosette:

All rosette dies are in this box. I also have a clear bag with circles I have punched out of 110# card stock scraps and I write the size of the circle on these. I use this circles to cut out my tulle when I put them on rosettes -- I cut a piece of tulle and fold that and then lay the card stock circle on that and cut the circle out using scissors. I put my tulle on the top of my rosettes so once I form the rosette I measure to see what size tulle circle I would want for it and then cut that out. Also in this box is an applicator for inks that I use for forming rosettes. I took the foam pad off of the handle and cut out a circle of the brown non stick craft mat for the bottom of the handle. I used heavy duty glue to adhere this to the handle and now when I make my rosettes I do not burn my fingers with the hot glue.
Here are the items I used for these rosettes:
I used a white card stock base for the scalloped base piece, a printed card stock rosette, circle to cut out the glittered tulle, the tulle, the pink thread, and the non stick tool to form the rosettes:

The glittered heart sticker for the center of my rosettes is from the stash. This photo shows the assembly of the rosettes. First the white scalloped base, the printed rosette, the tulle circles, the pink thread. All layers are adhered using hot glue:

Then added the glittered heart sticker to the front of the rosettes:


No comments:
Post a Comment